Unless otherwise noted, any code snippet in this post goes in your theme's functions.php file or a plugin for your custom functions.
Need a dynamic form? Here are three useful methods to pre-populate form fields using the Gravity Forms WordPress plugin.
Sometimes being lazy is a good thing, like creating one form to do three things instead of having three forms to keep track of. What if the form needs to load a different field dependent on which page the user is clicking from? Or dependent on the current page where the form is embedded? In this example, we will pre-populate a form field to conditionally display sections for Billing, Sales, and Support. Thankfully, the folks over at Gravityforms have made this a painless endeavor.
Cue each Section with a Dropdown Field
First, to cue the display of each conditional area, the for, needs an element with multiple options to select from; in this case a dropdown field will be used.
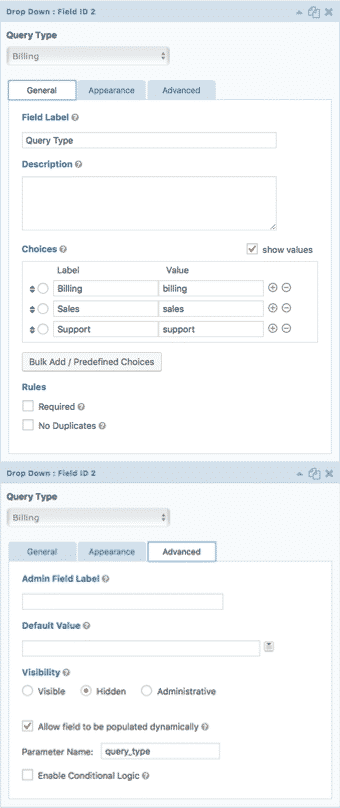
Add a dropdown to the form and in order to keep it unseen by users on the front end, set ‘Visibility’ to Hidden. Next, add Choices for each of the three sections, taking not of the value for each choice. Tick show values if a custom value is preferred. The value will be passed to the front end field and is what we will use to specify which conditional section to display.
Add Section Field with Conditional Logic
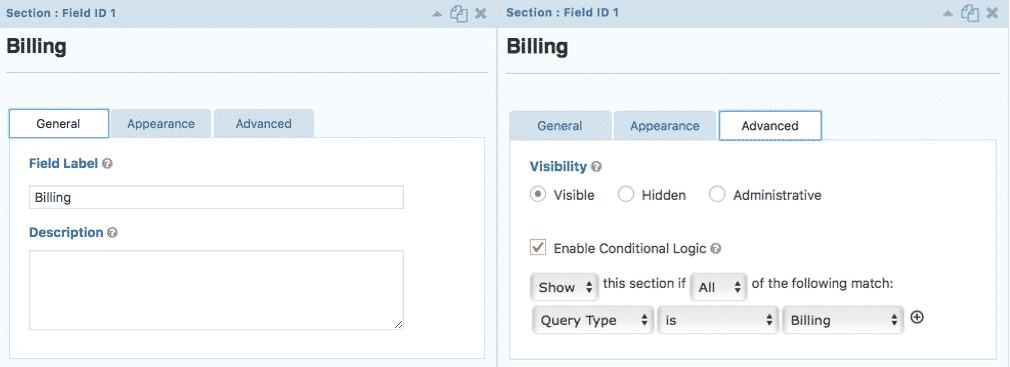
Next, go ahead and create a ‘section’ field for each conditional area: Billing, Sales, and Support. Be sure to check off the Allow field to be populated dynamically box, located in the advanced tab. Directly below, set the Parameter Name that will be used to call the corresponding field value. In this example we will use query_type.
Now, enable conditional logic so each section displays only when the corresponding dropdown choice is selected. Head to the advanced tab for each Section, check Enable Conditional Logic, and configure accordingly to display when the correct dropdown choice is selected.
Apply Parameter Values
The groundwork has been laid, and it is time to put this form to work. Here are three different ways to pre-populate, with a use case for each method.
Pre-Populate by Query String
After appending a query string to the page URL, we can cue the query_type parameter to deliver a default field value for the dropdown on our destination page. Going along with our example, let’s say we want to load the sales section any time the user is clicking from the Services page. On the Services page, we must build each destination link to call the ‘sales’ value for the previously set custom parameter:
http://example.com/contact-us/?query_type=sales
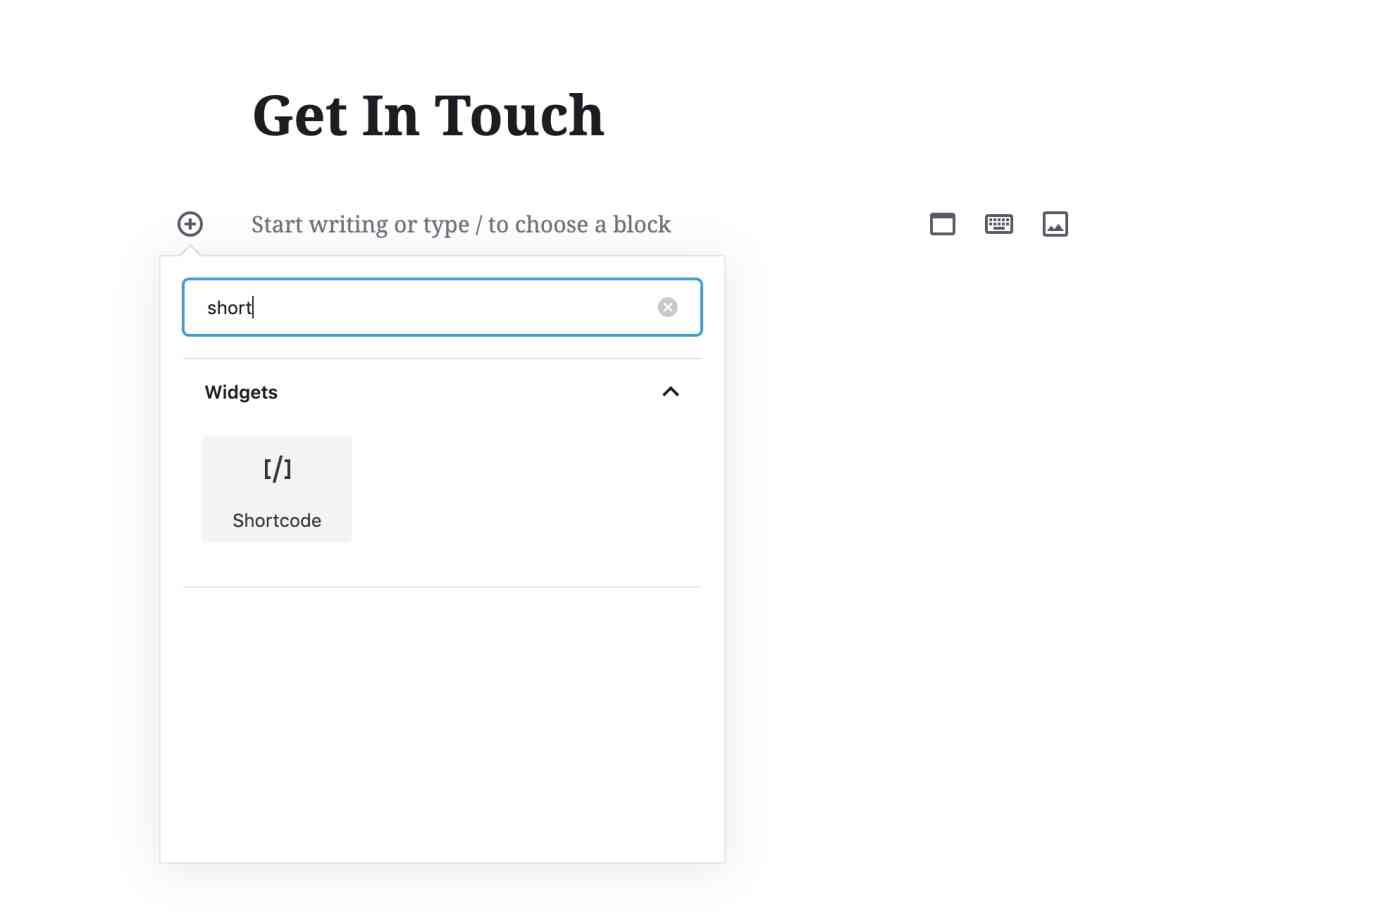
Pre-Populate by Shortcode
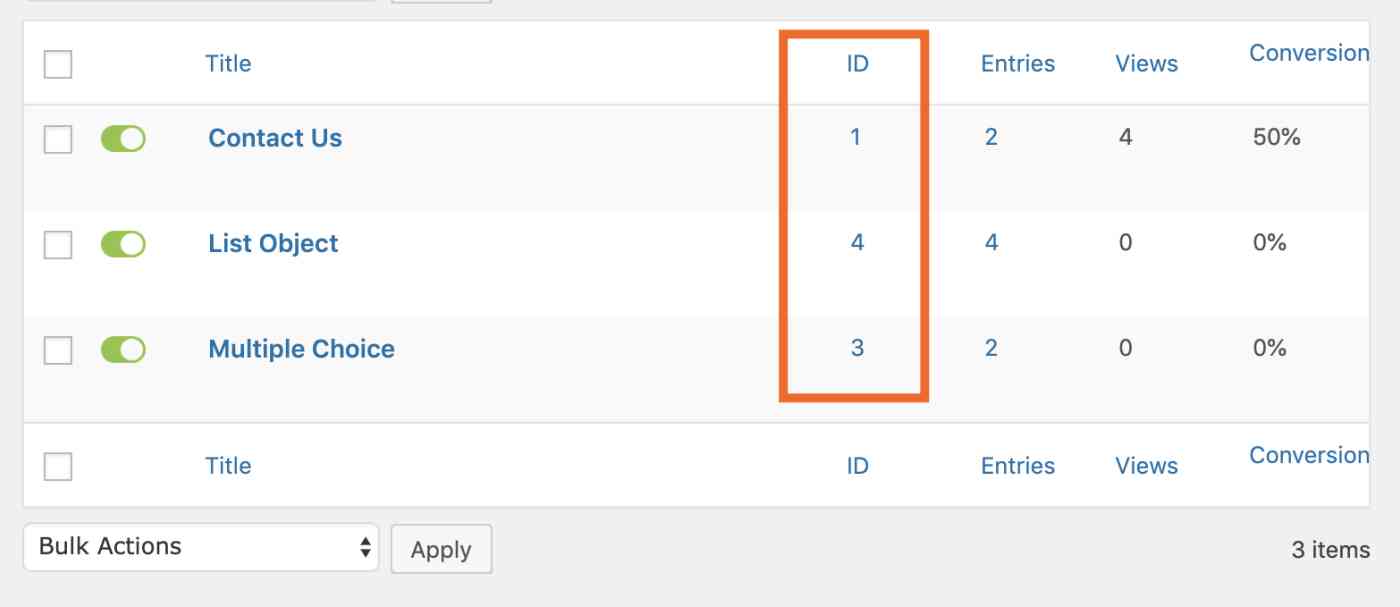
So what if we want to set the form to display the Billing section by default on our Billing page? One option is to include the standard Gravity Forms shortcode on the billing page, adding field_values and setting query_type equal to the designated dropdown value:
[gravityforms id=1 field_values='query_type= billing']
Pre-Populate by Hook
Time to hook it up. Here is the most recommended, versatile way to pre-populate Gravity Form fields, extending control of how and where field values will be pre-set. In this example, a conditional hook can be used in functions.php to look for the custom parameter and fills it with the desired value.
What if the form needs to display the Support section when it is located on the Support page? First, add a filter that includes the previously set query_type custom parameter: gform_field_value_query_type. This enables a custom_function to conditionally return the value support only if the page is titled Support:
add_filter( 'gform_field_value_query_type', 'custom_function' );
function custom_function( $value ) {
if( is_page('Support') ) {
return 'support';
}
}
Time to Get Nifty
There are tons of ways to extend Gravity Forms and create dynamic WordPress forms, making the plugin’s versatility a must-have. For a full scoop on using gform_field_value_$parameter_name Gravity Forms has put together a helpful guide.
'WEB > WP(WordPress)' 카테고리의 다른 글
| [Gravity Forms] Merge Tags (0) | 2020.12.25 |
|---|---|
| [Gravity Forms] Gravity Forms Populate Anything (0) | 2020.12.25 |
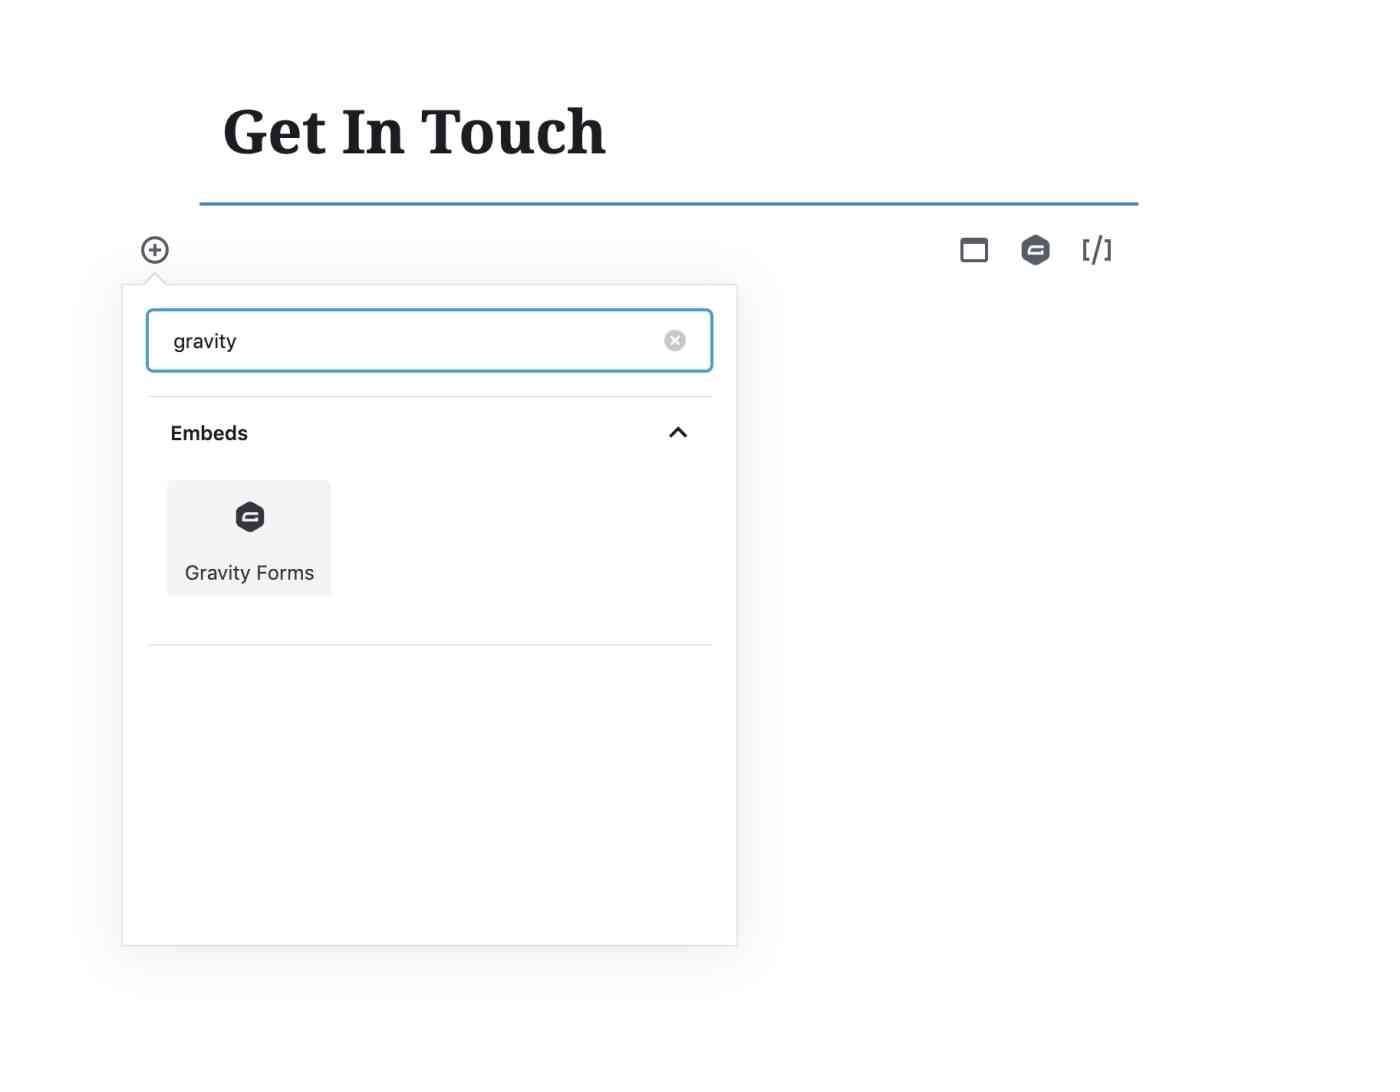
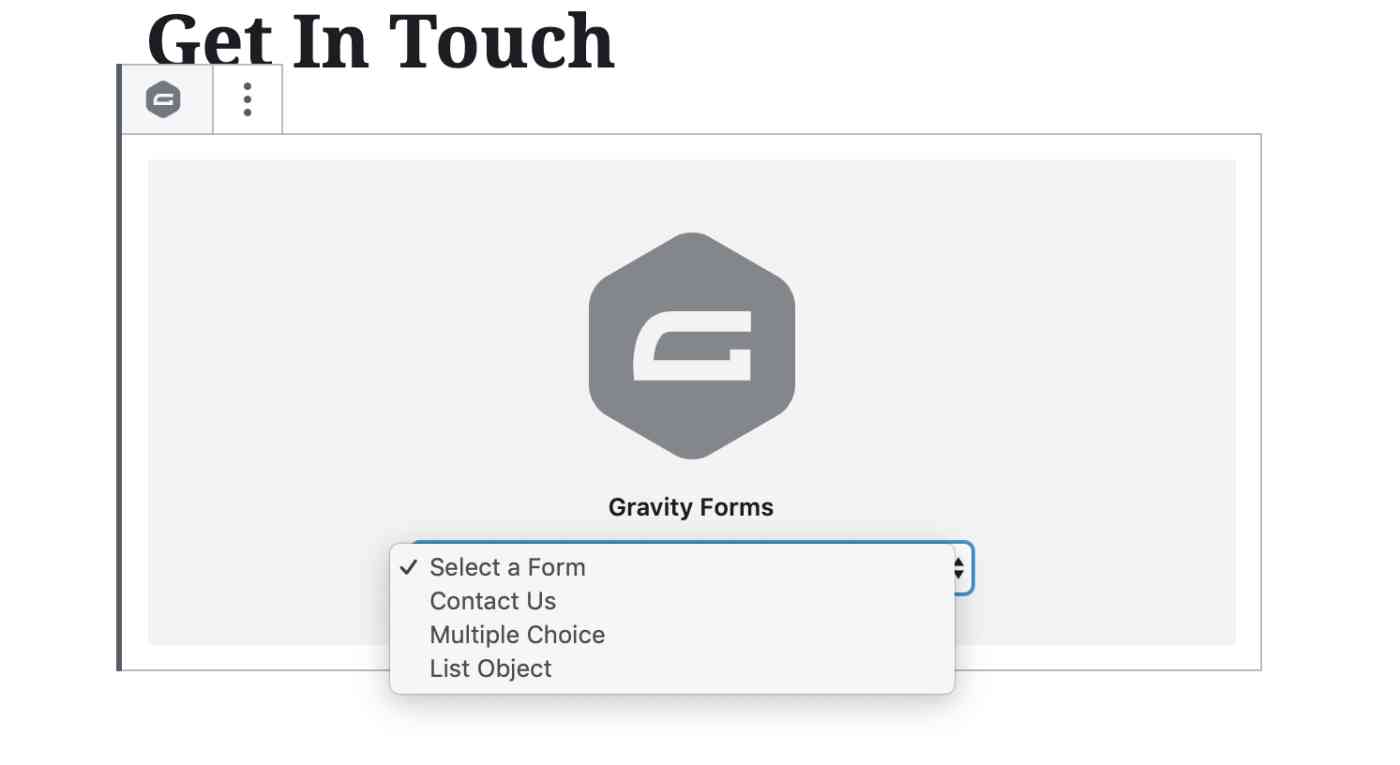
| How to Embed a Gravity Form in WordPress, With or Without Shortcodes (0) | 2020.12.25 |
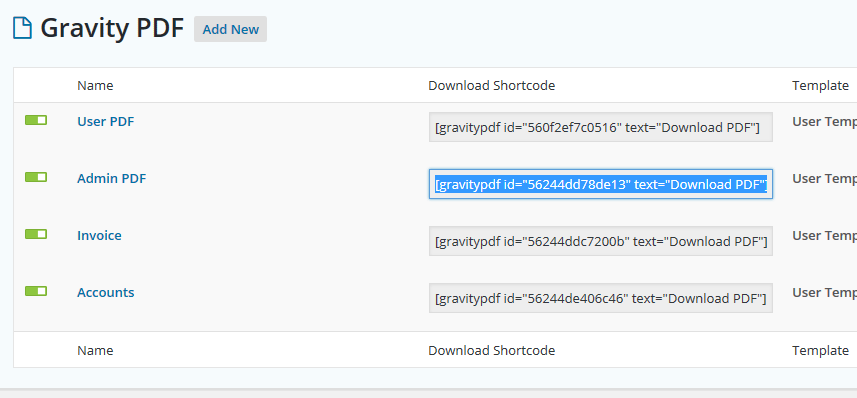
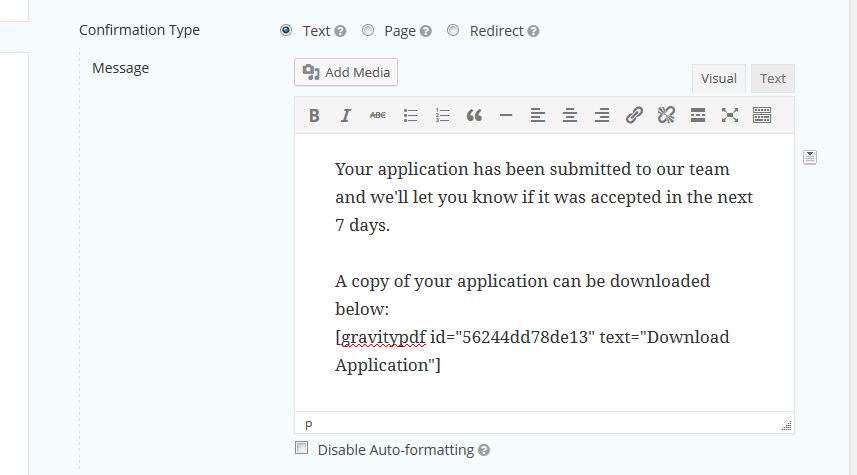
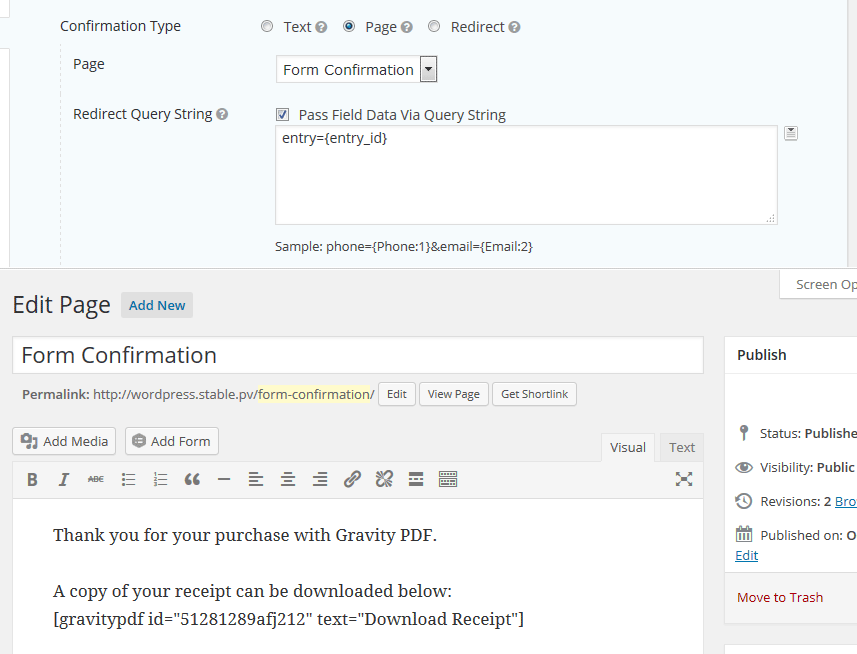
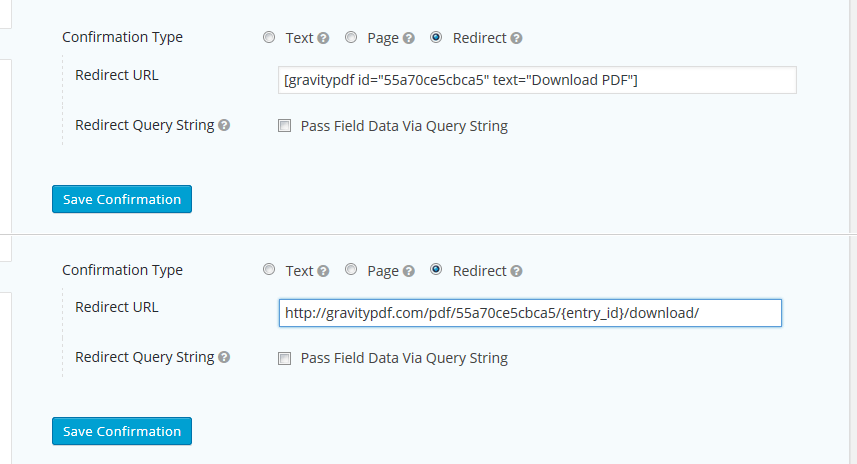
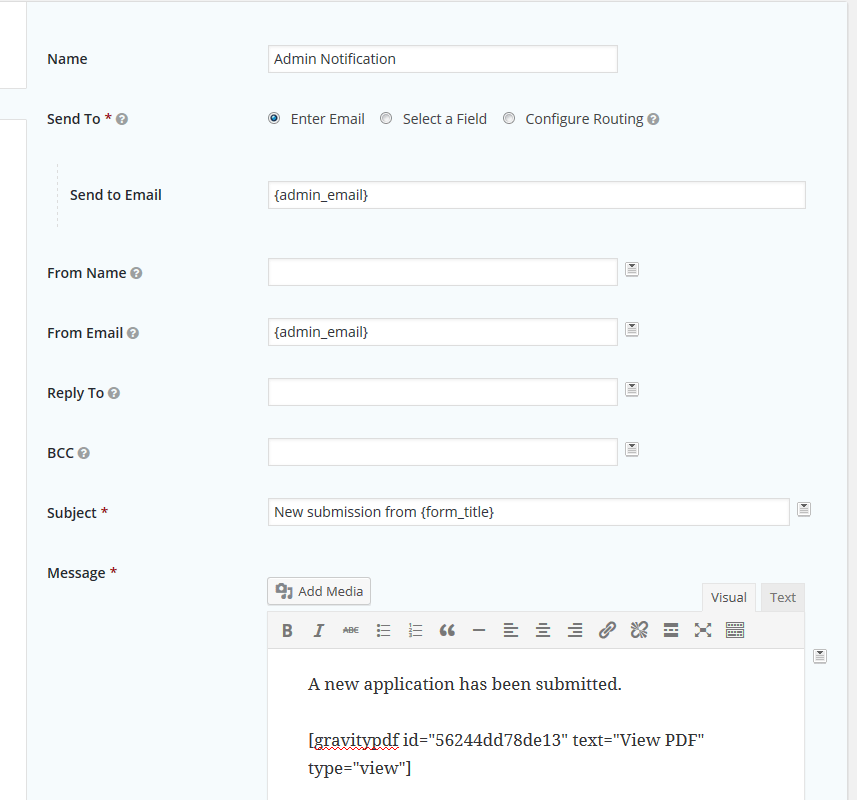
| [Gravity Forms] Gravity PDF Shortcodes and their Usage. (0) | 2020.12.25 |
| [Gravity Forms] Copying fields to another form (0) | 2020.12.25 |