Posted by Megan Jones at 9:47 am on September 1st, 2020 | 2 comments

Gravity Forms enables you to create stylish forms that connect with your audience and boost conversions. Adding images to forms can further enhance user engagement, personalizing or adding excitement to the form process, and ensuring your forms convey the right message.
With Gravity Forms, embedding images into forms is a quick and easy process. In this ‘How to…’ article, we will look at a few different ways you can add images to a form, including a third-party plugin that can do the job for you.
Let’s get started…
Note: The images shown within this article use the new Gravity Forms 2.5 form builder. 2.5 is currently in beta, but if you like what you see, check out this article for more information on 2.5 and how to install 2.5-beta-1.
Uploading Images
With Gravity Forms, you can display custom images within your form. This allows you to use relevant and attention-grabbing images that your users will relate and respond to. To add images to a form you will first need to upload your chosen images to your website’s media library.
To do so, within your WordPress dashboard, select Media > Library > Add New > Select Files.
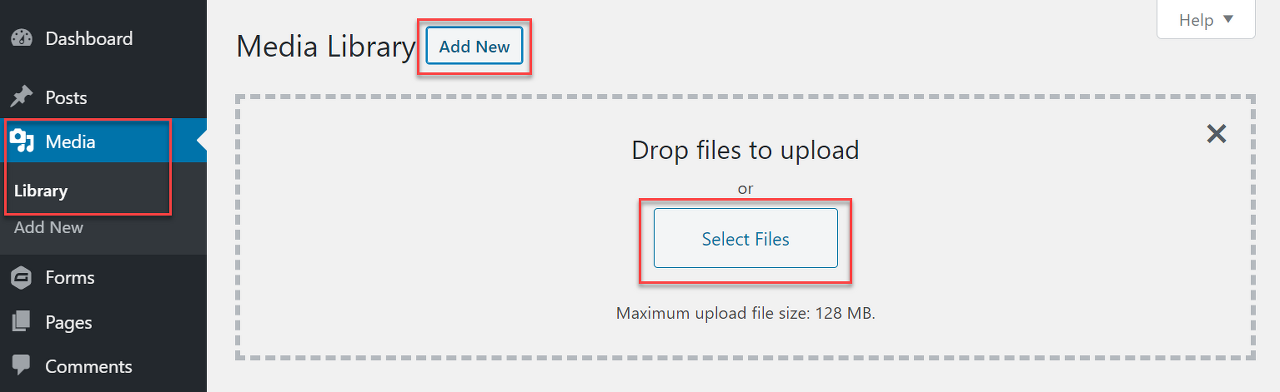
Then simply select the images you want to use and upload them to the media library - once uploaded, these images are then ready to be embedded into a form.
Adding an Image to a Form

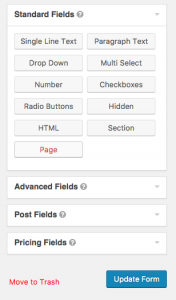
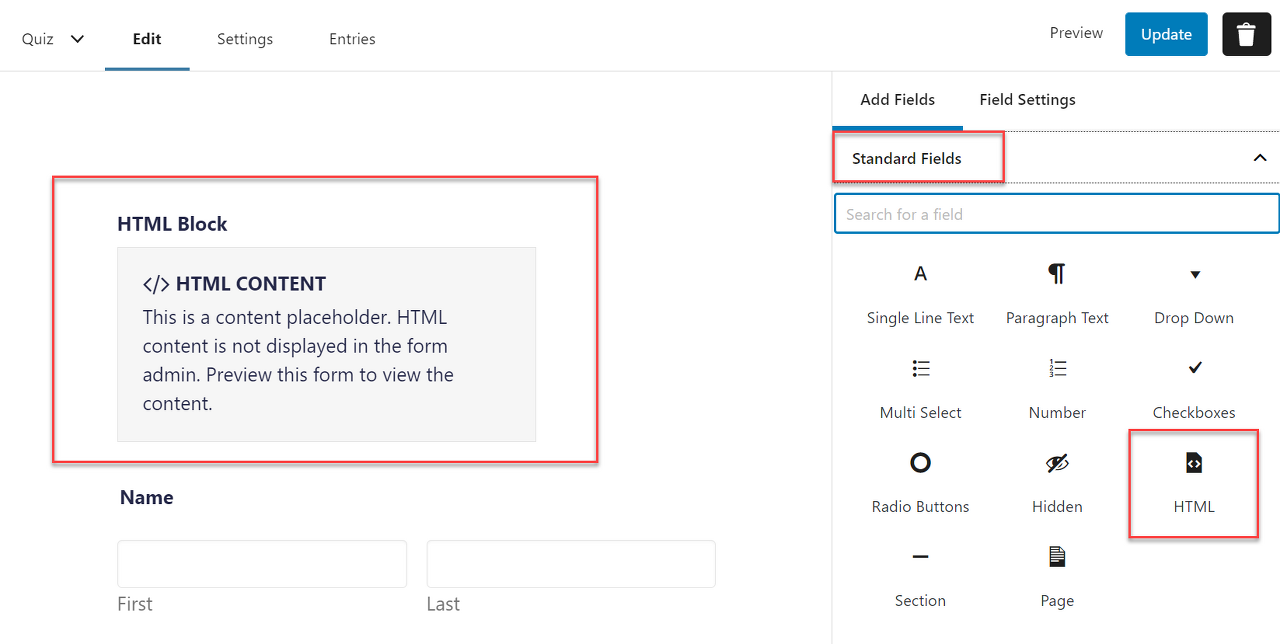
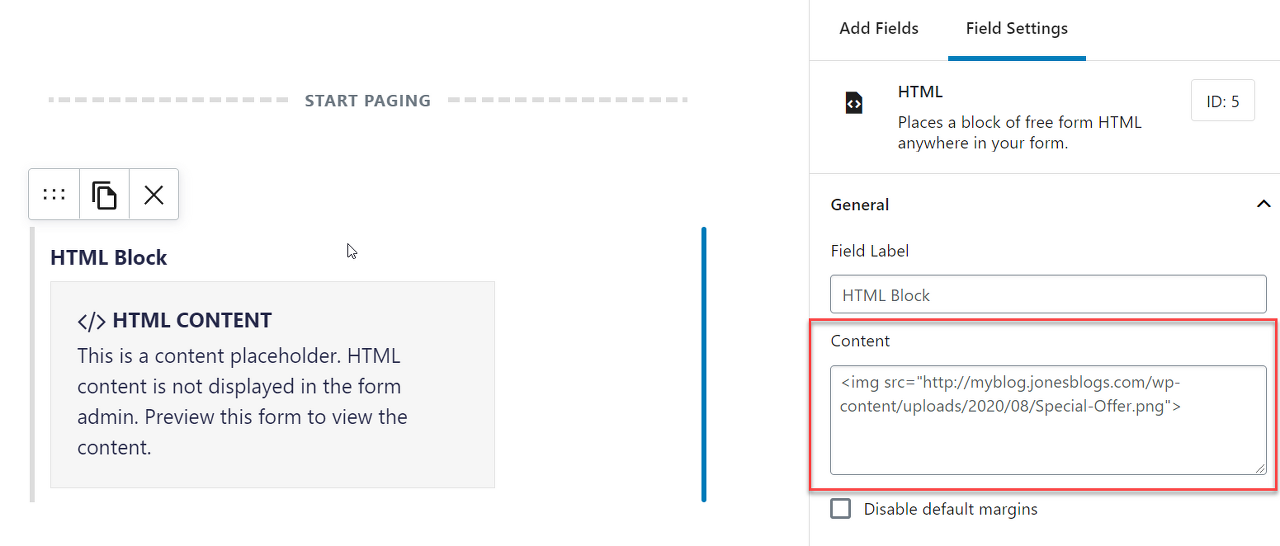
To add a stand-alone image to a form, open the specific form and then select the HTML field, which you will find under Standard Fields.
Switch over to your Media Library and copy the URL of the image you would like to embed.
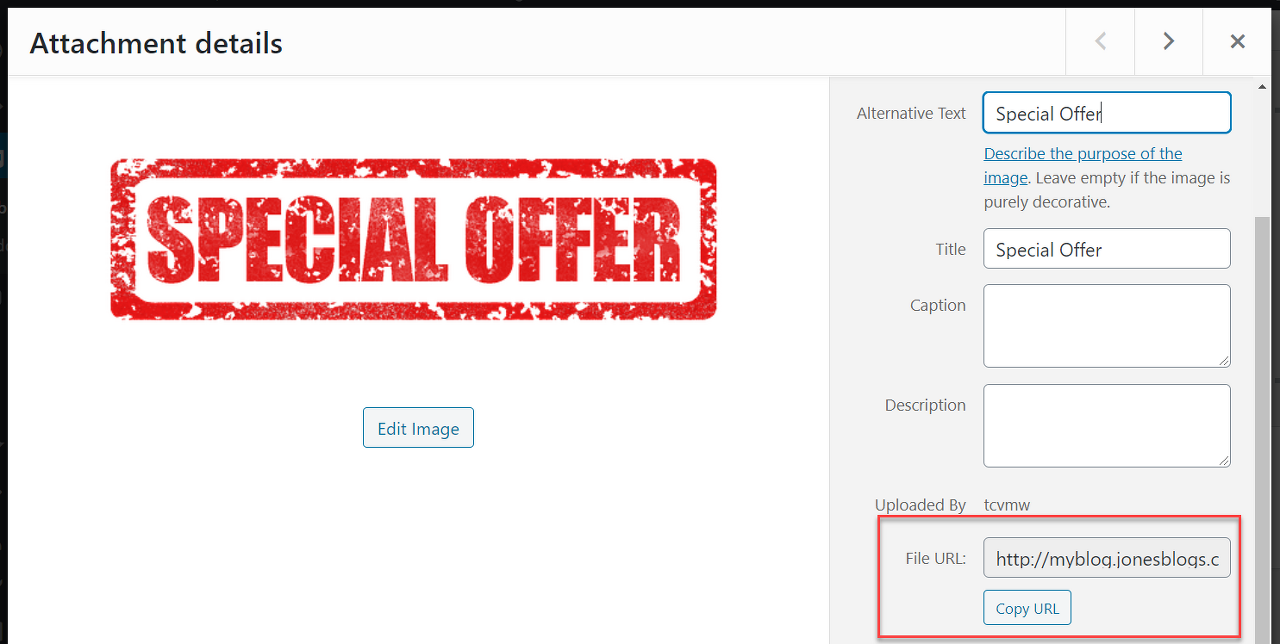
Then, in the HTML field, under Content, paste in the URL within these parameters…
<img src=“Paste Image File URL Here”>
Check out the image below to see this in action…
You will now need to save and preview the page to check that your image has been embedded into your form.
An HTML field can be added anywhere within a form, enabling you to add as many images as you want, wherever you deem appropriate. For more information on using the HTML field to add JavaScript or other HTML content to your forms, check out the Gravity Forms Docs.
Adding Images to Other Form Fields
As well as the HTML form field, images can also be added within other fields. This can be useful if you want your users to choose from a list of options, as you can display an image for each option helping people to easily make a decision.
To set this up, firstly you will need to choose the appropriate field that you want to use to display your options. Here we have selected Radio Buttons…
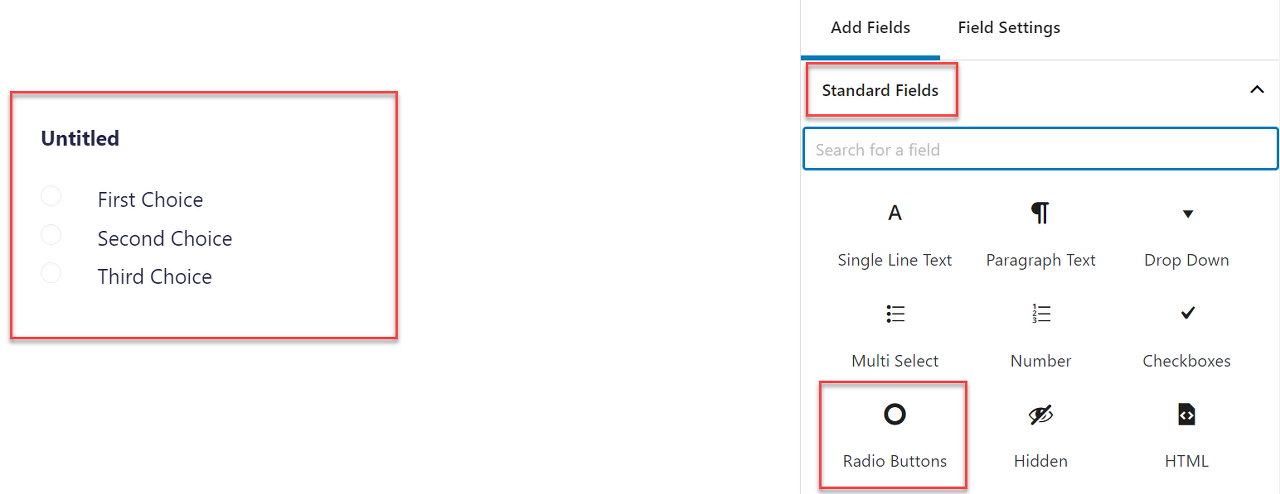
Under Radio Button Field Settings > General > Choices, you can edit the text for each radio button as well as add an image for each choice. To add an image, follow the same process as discussed previously - copy the URL of the image and then enter it within these parameters <img src=“Paste Image File URL Here”>
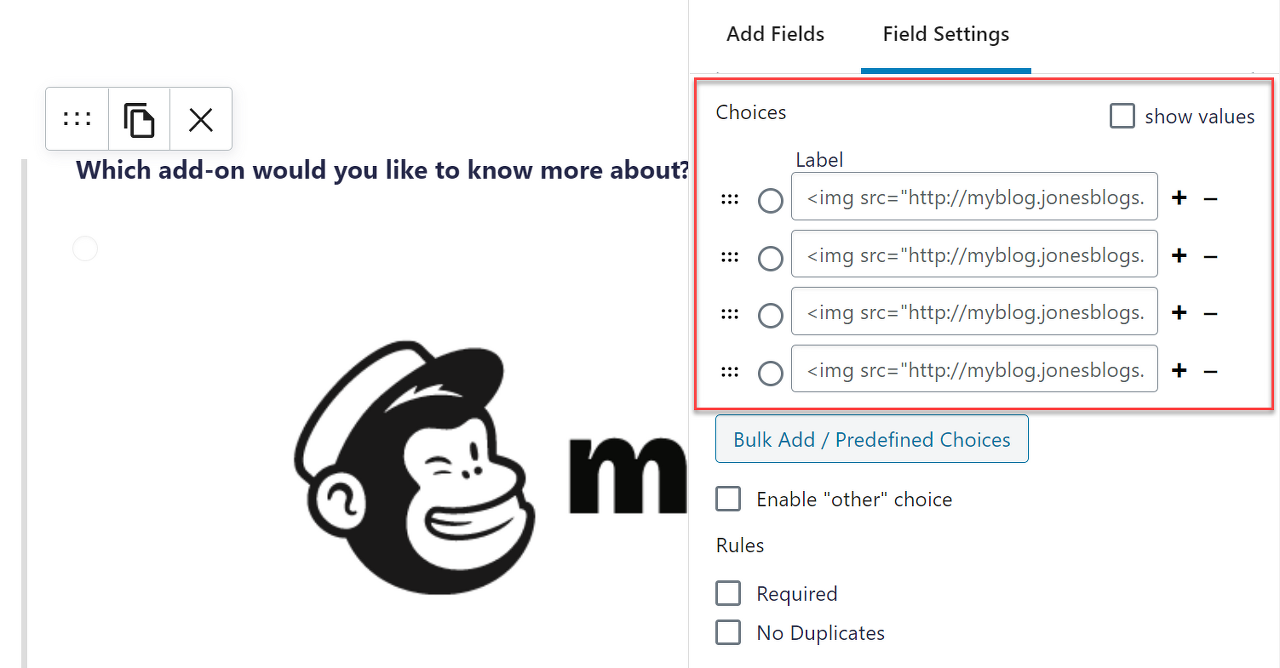
After you have entered an image for each choice, again save and preview the form.
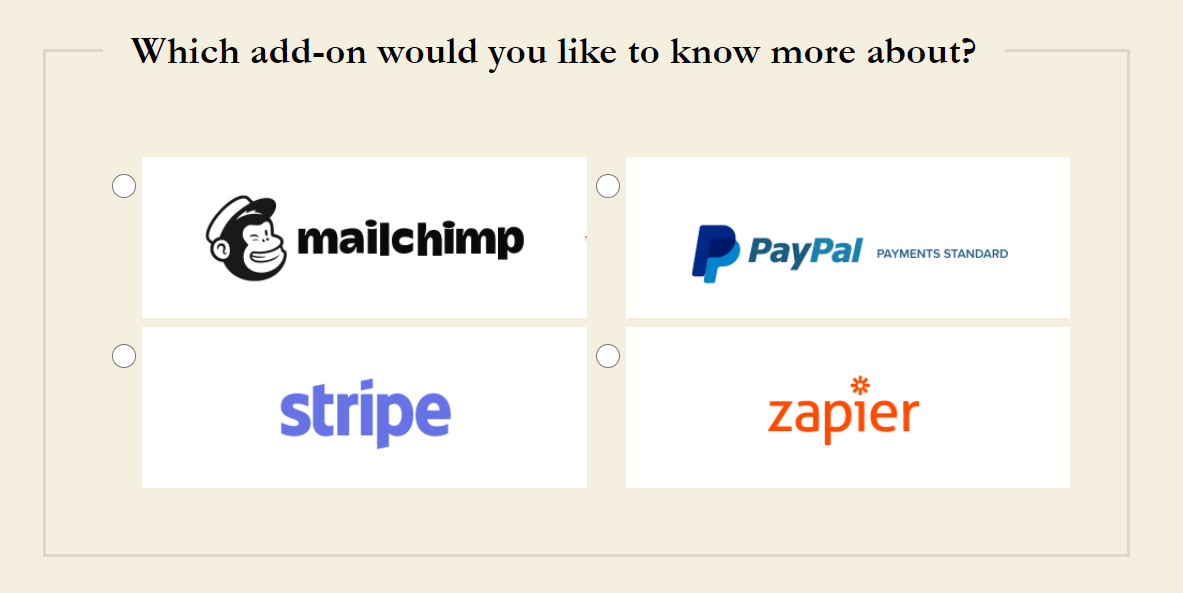
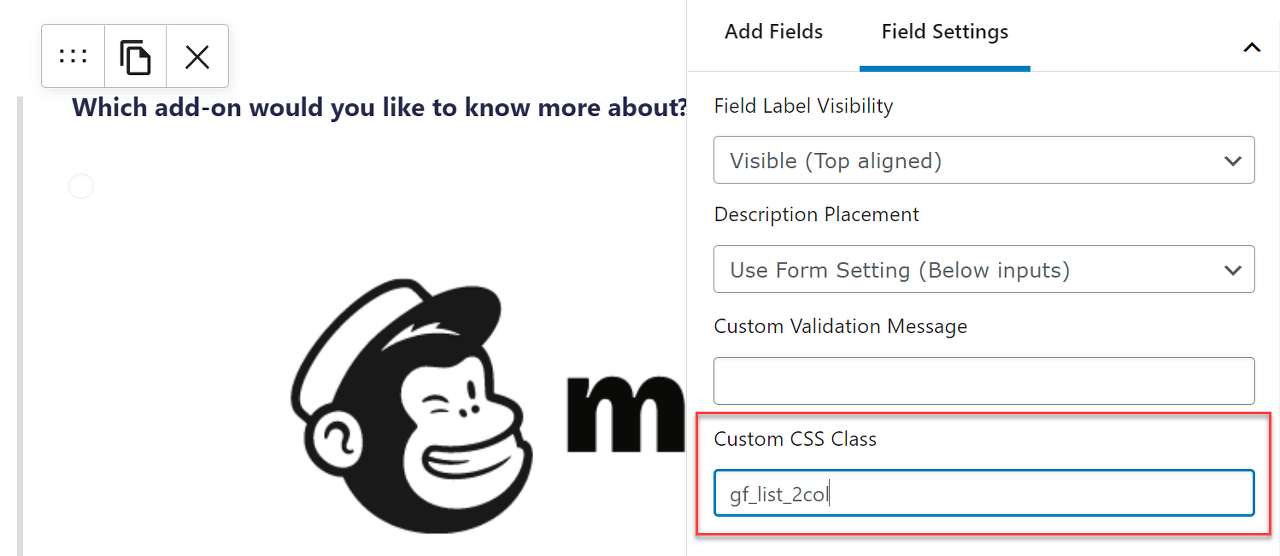
Top Tip: If you would like the images to appear in two, or more, columns (see the image at the top of this section) then you will need to enter the relevant CSS Ready Class, which for two columns is gf_list_2col. This should be entered in the Radio Buttons Field Settings > Appearance > Custom CSS Class.
For more information on Ready Classes, check out this CSS Ready Classes Guide.
Once the form is live, the user just has to click on the relevant image to select a specific option. This is a great way to create user-friendly forms, encouraging your audience to complete and submit forms, and helping your website to achieve its goals.
Rather Use a Plugin?
If adding HTML markup to form fields isn’t for you, then of course there’s a third-party plugin that you can use instead. Gravity Forms Image Choices is a premium add-on brought to you by JetSloth, one of the Gravity Forms Certified Developers.
With this add-on, you can seamlessly embed images into Checkbox or Radio Button fields, as well as enable a lightbox feature to give users a better viewing experience. This add-on also supports Polls, Surveys, and Quiz fields, as well as the Product and Option fields when Checkbox or Radio Buttons are selected.
Final Thoughts on How to Add Images to a Form
Displaying images within a form adds significantly to aesthetics and user experience, so it is well worth taking the time to add stylish and relevant images. As always with Gravity Forms, there are numerous options when it comes to embedding images into a form, so simply select the strategy that works best for you and your forms - let us know how you get on!
Not a Gravity Forms customer yet? Sign up for our free demo to check out just how easy it is to add an image to a form. You can also view our numerous form templates as well as create your own forms.
Any questions on embedding an image into a form? Please ask away in the comments below…
'WEB > WP(WordPress)' 카테고리의 다른 글
| [Gravity Forms] Gravity PDF Shortcodes and their Usage. (0) | 2020.12.25 |
|---|---|
| [Gravity Forms] Copying fields to another form (0) | 2020.12.25 |
| [Gravity Forms] Creating Multi-Page Forms (0) | 2020.12.25 |
| POEDIT 단수, 복수 구분 번역할때 세팅 수정 방법 (0) | 2020.04.01 |
| This page is not working [redirected you too many times] (0) | 2020.03.25 |