Posted on January 8, 2019 by B.J. Keeton in WordPress | 16 comments

There are lots of reasons why you would want to allow WordPress user registration. Maybe you have a membership site or run a forum community. You may only allow registered users to post comments as a way of moderating discussions. Whatever your reason, we want to show you how to get your users up and running with their own accounts.
Allowing WordPress User Registration
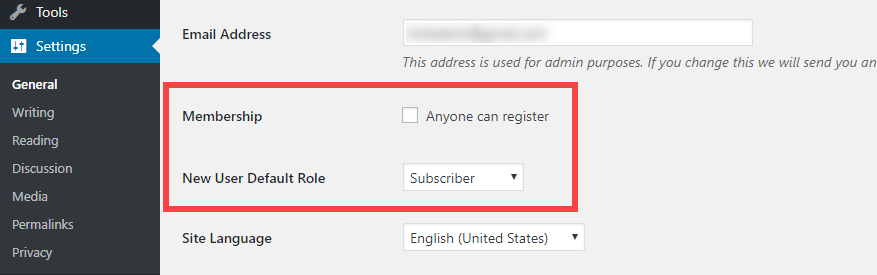
The very first step you’ll need to follow is very simple. Head to the Settings – General page in your WordPress dashboard. There, you will find two options that are imperative to this whole process: Membership and New User Default Role. You will want to check the box that says Anyone can register and choose your default role. Normally, that’s going to be Subscriber, but since each role comes with different permissions, that might not be the best for your site.
By default, you get 5 user roles:
- Subscriber
- Author
- Editor
- Contributor
- Administrator
Each of these roles has a different set of permissions, and you can tweak them with certain plugins and code snippets. Some plugins will create specific user roles for themselves (such as BuddyPress creating the Keymaster role).
Usually, Subscriber is a good choice because they can’t create posts or really get into any kind of trouble. Once you press the Save button, your site is ready for users to register. But you’ll need a login and registration form to do that.
How to Create a Custom WordPress User Registration Page
Subscribe To Our Youtube Channel
Option 1: Use The WordPress Registration Form
The simplest way get your users to the registration for is by going into your Appearance – Widgets section and choosing the Meta widget and dragging it into your sidebar or footer area.
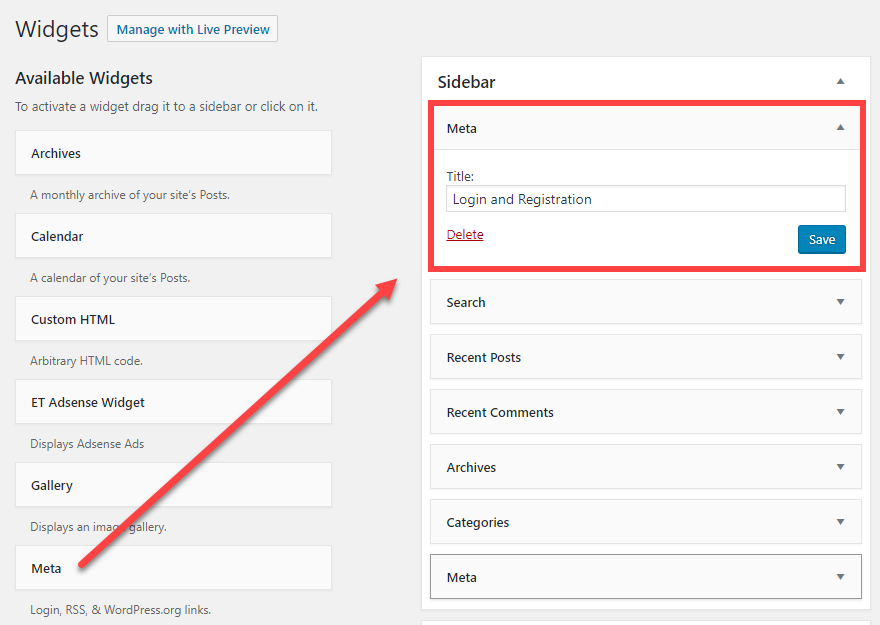
The downside to this method is that the widget also includes the RSS and WordPress.org links. It will also only provide a Log in link for the user to follow that takes them to the default WP login screen where they can register. This link isn’t exactly obvious.
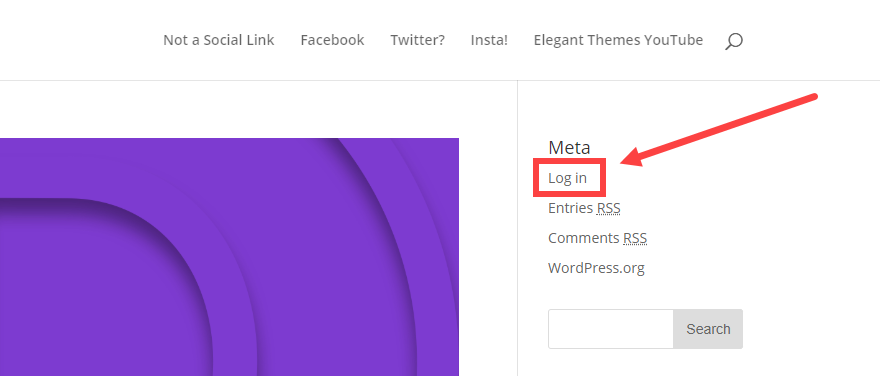
They will then be taken to the default WordPress user registration and login page located at yoursite.com/wp-admin. They click on the (again) fairly hidden Register link, and they can sign up.
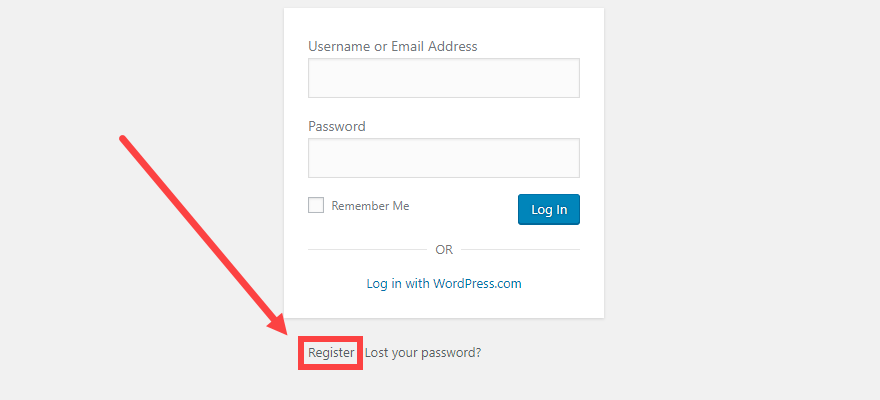
But because it’s all fairly obfuscated, you want your users to actually find the form to sign up. Now, the WordPress registration URL is https://yoursite.com/wp-login.php?action=register, and you can link to that whenever you want. That will send them to the default registration form where they choose a username and enter their email.
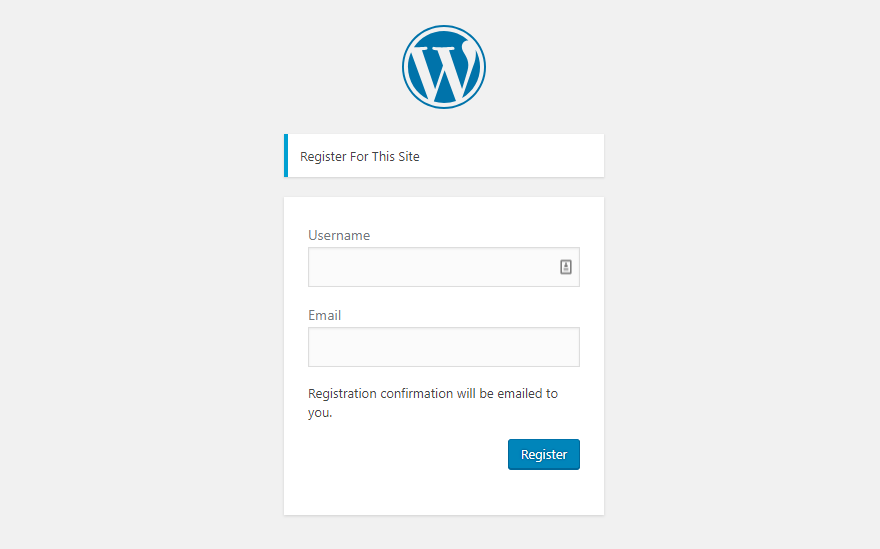
When they confirm their email, the account will be given the default permissions you set above.
Option 2: Use a Plugin
One of the best options for creating a front-end registration form (with a shortcode so you can put it anywhere) is a plugin called Ultimate Member. With it, you will not only be able to keep the look of your WordPress user registration page consistent with the rest of your brand, but you can also much more easily manage the users themselves, too. With 100,000+ installations and consistent updates, you can feel safe letting this one handle this for you.
First off, you will want to download and install Ultimate Member from the plugin repository. Once it’s activated, you will get a message that the plugin needs to create a few new pages to function. Go ahead and give it permission.

After it creates the pages, you are technically ready to go. Users can register immediately at yoursite.com/register, though you can change that URL to whatever you want.
If the default form doesn’t work for you, you have two options. Edit it or create a new one. Either one can be found under the Ultimate Member section of your admin panel.
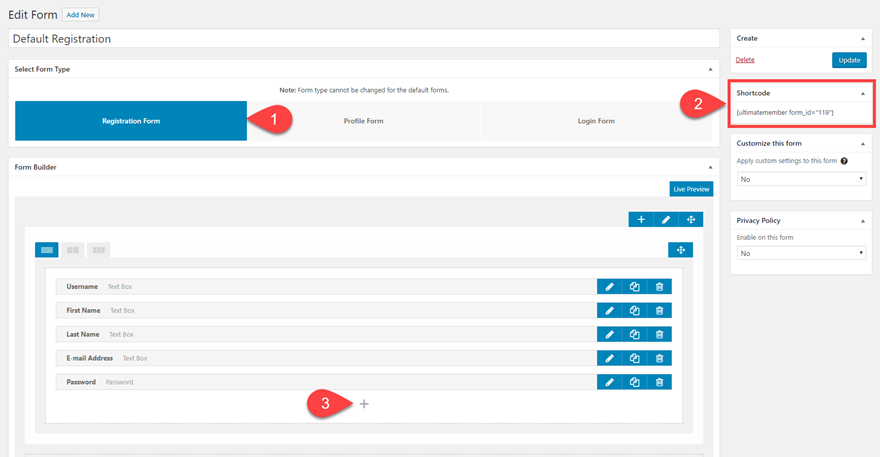
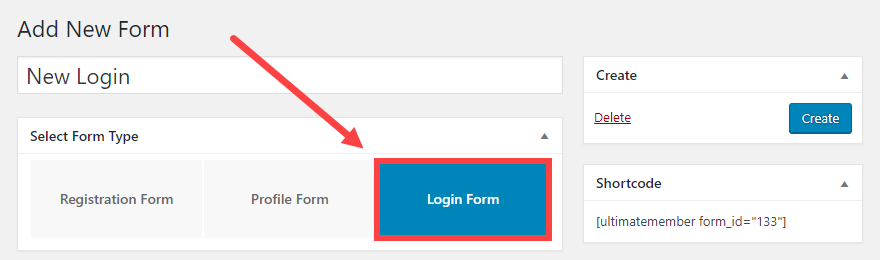
Make sure that you have Registration Form highlighted (1). The form creation itself is drag-and-drop. If you have used a page-builder before or the new WordPress editor Gutenberg, you will find the experience very similar.
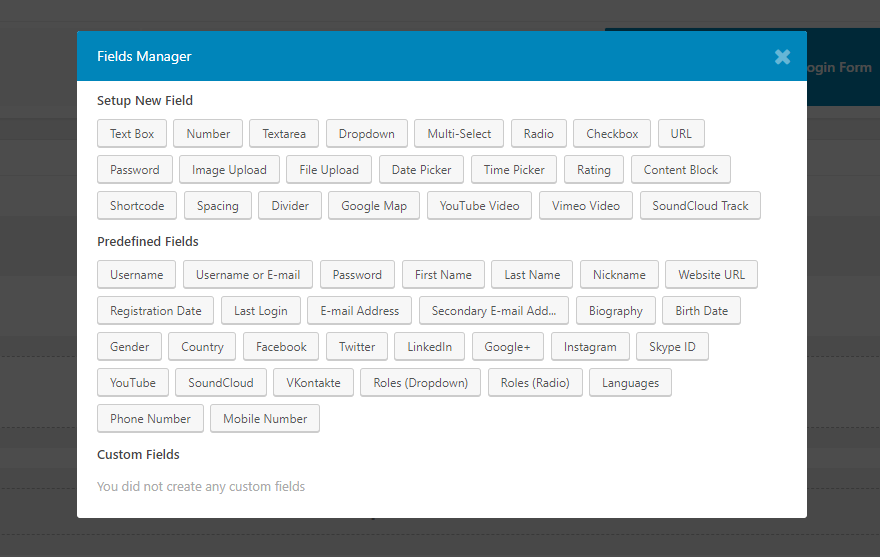
The number of fields you can include is quite large, too. By clicking on the + inside the editor (3), you can add any number of details you need to know about your users.
The most important part of all this, however, is the Shortcode box (2). When you copy and paste that code into a page or widget, this particular registration form will display. For instance, you can paste it into the Custom HTML widget under Appearance – Widgets.
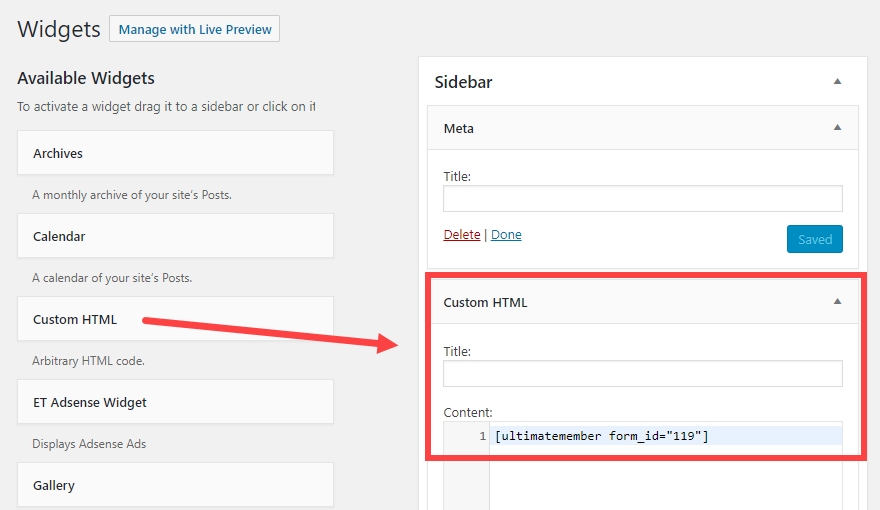
When that gets saved, you will see the entire form appear in the sidebar (or wherever the widget lives).
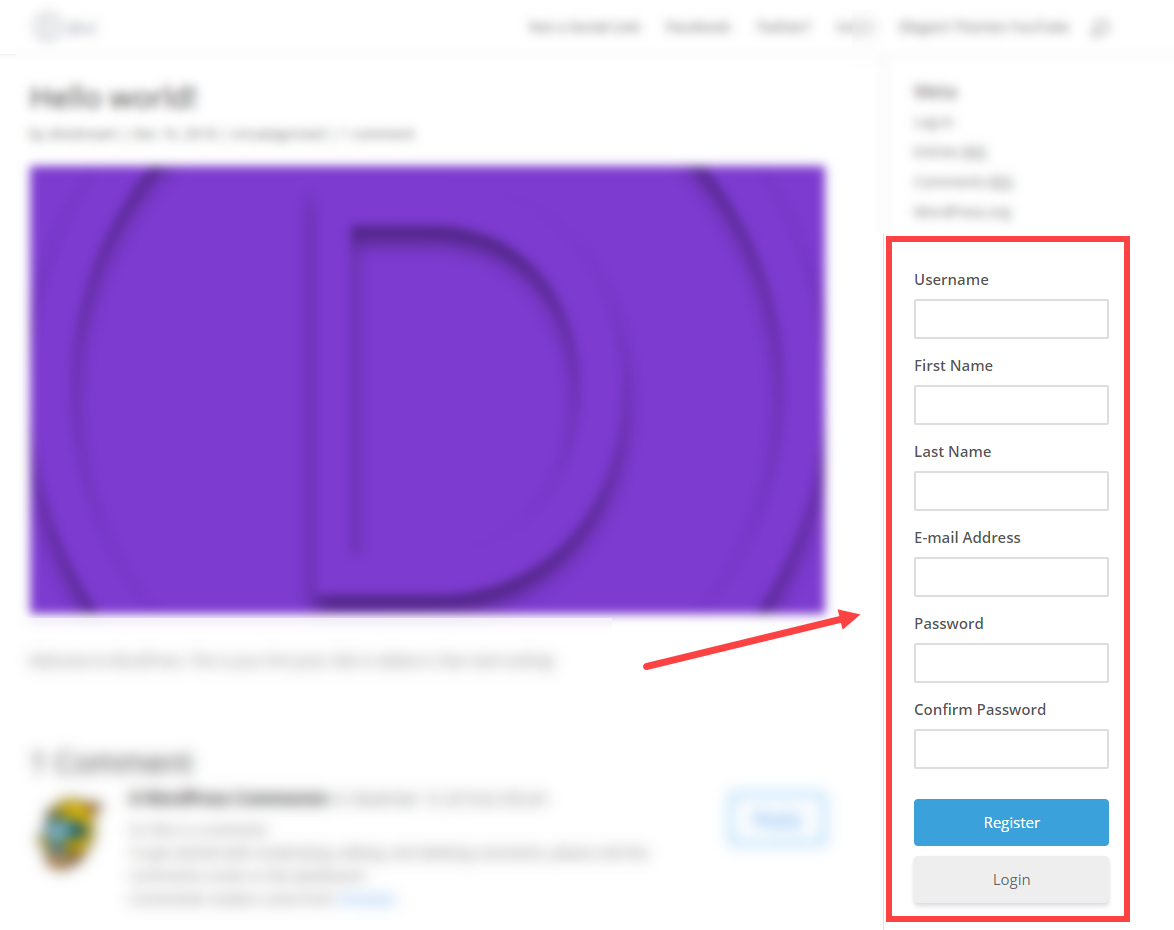
If you want that form in the middle of a post, you can now. That’s what’s so great about having it tied to a shortcode.
WordPress User Login Page
In addition to the user registration page, you can follow those exact same steps to create a login page as well. You just need to make sure the Login Form is highlighted when creating it.
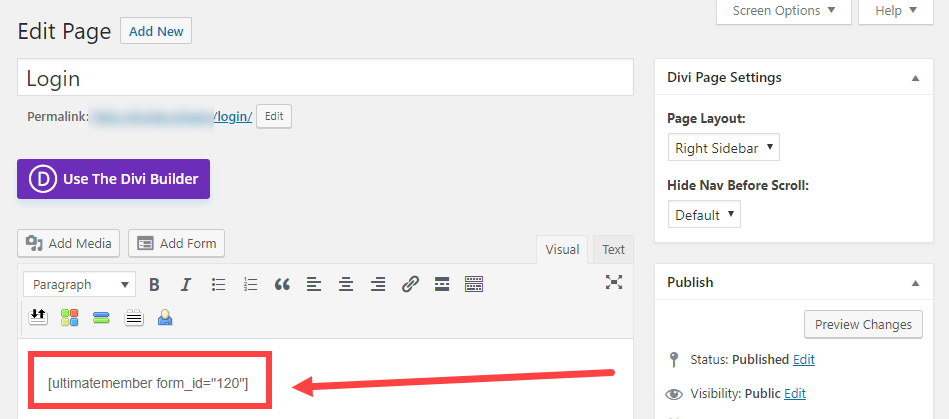
The Ultimate Member plugin has already created the default URL for this one as yoursite.com/login, too. If you go with the default form, you have no more work to do. If you create a new one, though, you just need to insert the new shortcode into that page.
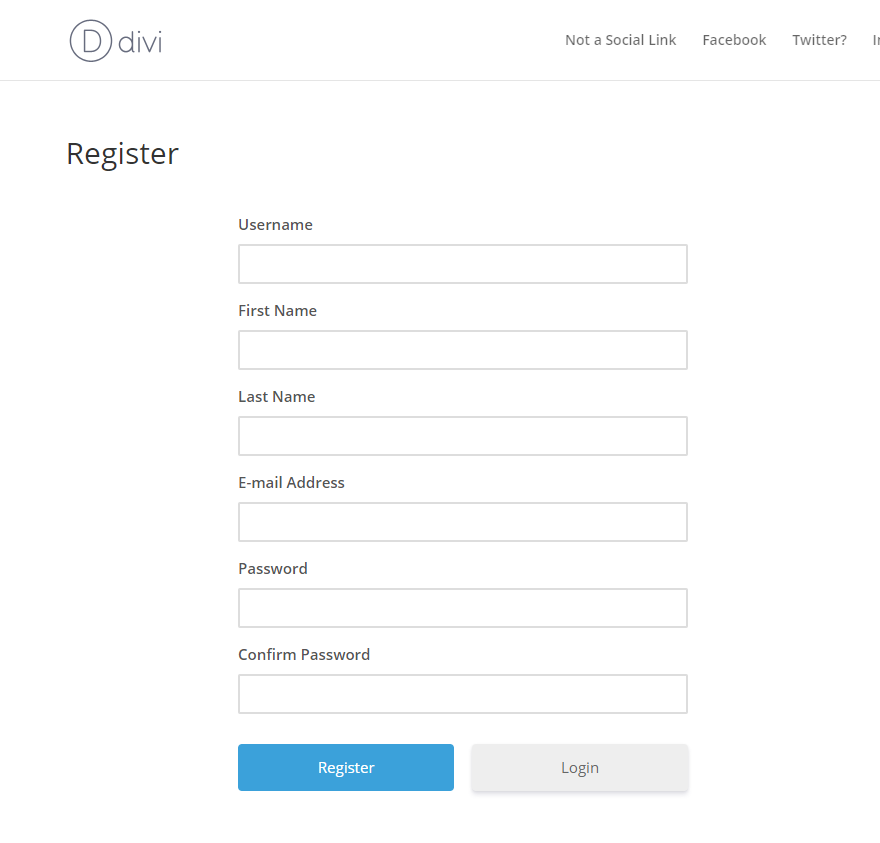
The end result will look something like this. Remember that you can also use the same set of fields for the login page that you did for the registration one.
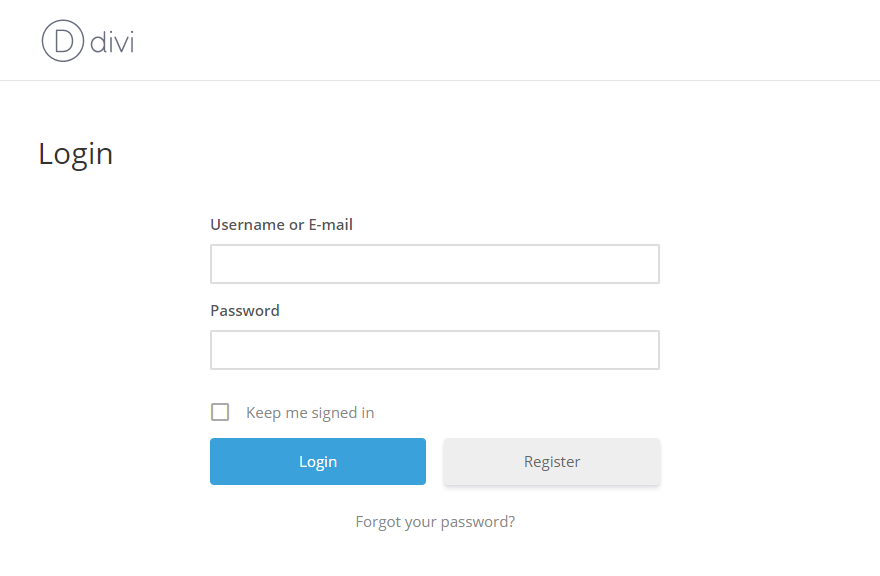
The best part about this particular form is that the register button is prominent and not hidden like the default WordPress one.
Managing the New Users
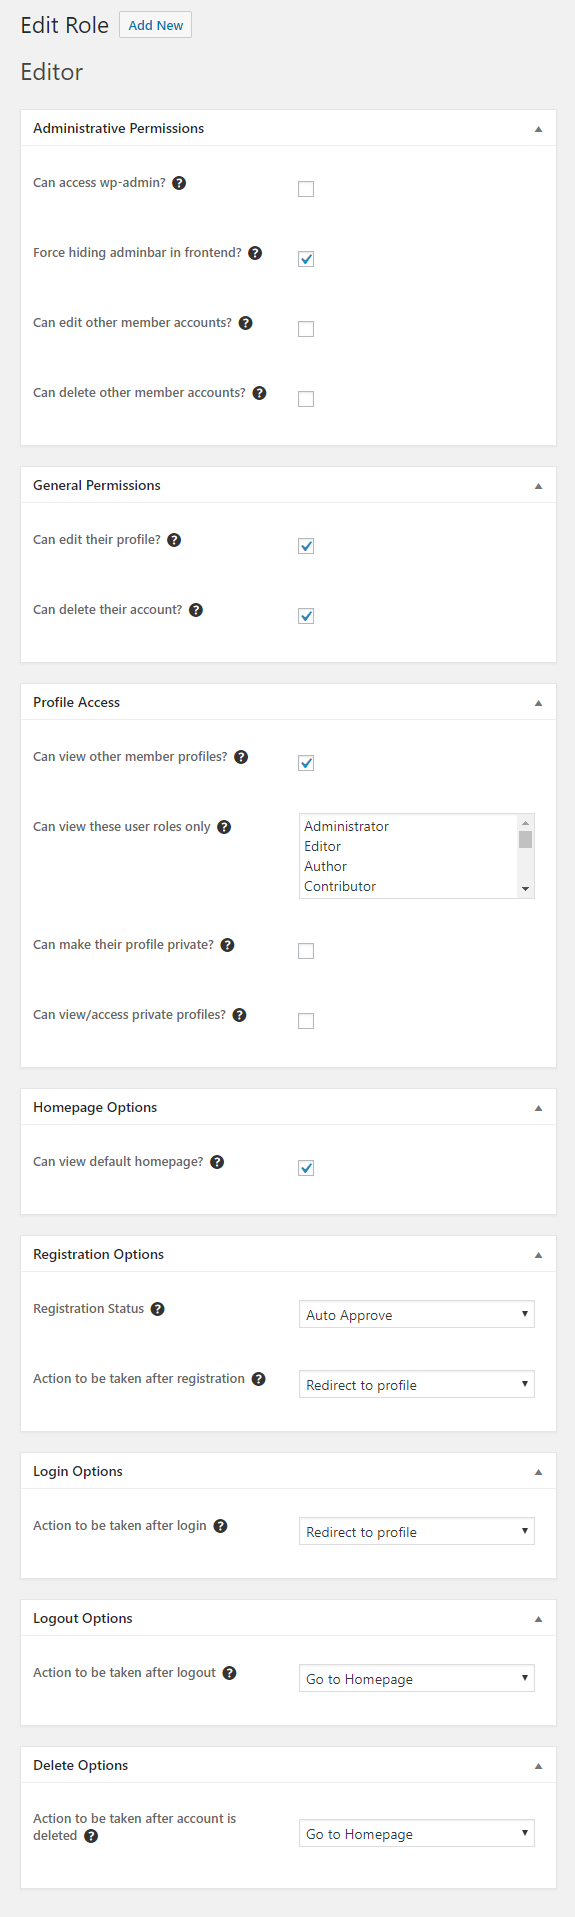
By default, WordPress has a minimal user management system for administrators. You go into the Edit User screen from the Users list in your admin dashboard, and you can change many things about the users. Such as their names, the username, the display name, emails, and even their role. But in terms of the permissions for those roles, you’re out of luck by default. Plugins like Ultimate Member help this by expanding what you can do without digging into the WordPress code.
Additionally, you can create a member directory where you can manage users and display everyone who has registered for your site or service. It can be found under Ultimate Member – Member Directories.

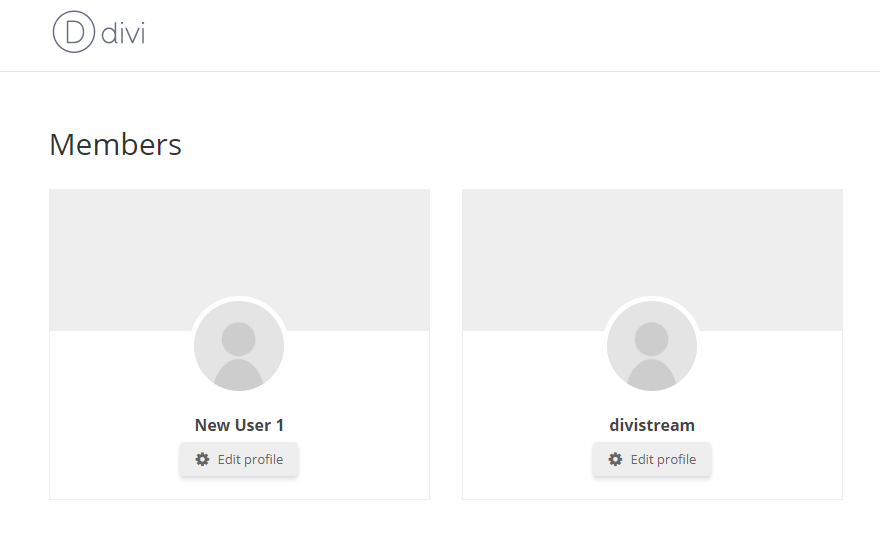
Depending on the reason you’re allowing registration, you may or may not want this public. It starts out that way, though, since UM creates a yoursite.com/members page with the directory’s shortcode in it. You can delete or unpublish the page. If you do use a directory, though, it will look like this by default.
Other Things To Consider
Now, the previous steps have taken you from not being able to have WordPress user registration at all to being able to display a full member directory for your site. If you want to take the membership and registration a little further, here are a couple of ideas.
Create a Custom Login URL
First, you can create a custom login URL without the use of a plugin like Ultimate Member. This is different because doing it this way will let you do away completely with the /wp-admin slug, which secures your site against brute force attacks and more. Using UM to create a /register and /login are incredibly useful, but the /wp-admin way also works. If you change it completely, your site can be locked down better.
Customize the Default WordPress Login Page
Secondly, you can customize the WordPress login page itself. If you prefer to keep the default WordPress login and registration URLs intact, you can fully change the design and alter it to fit your brand. This takes a bit of knowledge of the WP Core files and PHP, but if you do, the drab grey page you get on installation can be prettied up as much as you want.
Conclusion
No matter your reason, having users register for your site is incredibly simple. With just a few clicks and a little bit of tweaking you can make WordPress user registration go from being obtuse and kind of hidden to being another part of your site that you can be proud of and can do great things with. So get out there and start building your communities.
What do you use WordPress user registration for?
Article featured image by Visual Generation / shutterstock.com
'WEB > WP(WordPress)' 카테고리의 다른 글
| 서울시체를 웹폰트로 사용하기 in WP (0) | 2019.05.05 |
|---|---|
| The Divi Login Module (0) | 2019.05.03 |
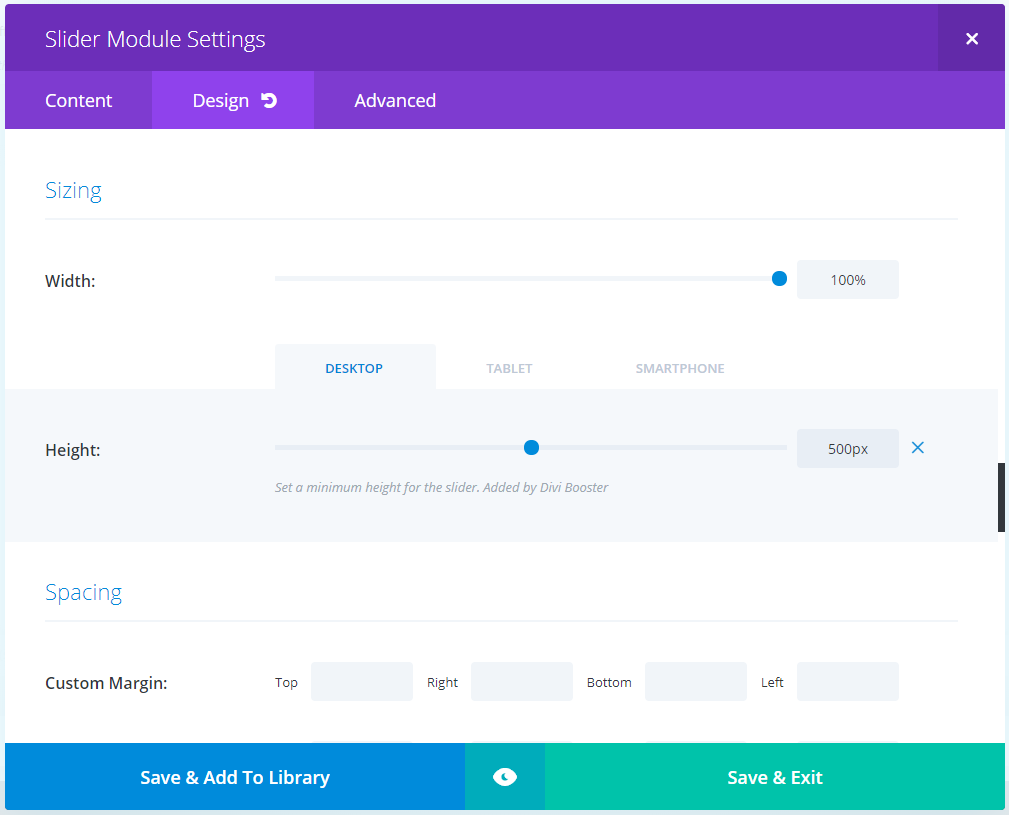
| CHANGING THE HEIGHT OF DIVI SLIDERS (0) | 2019.05.01 |
| WP Floating Menu – One page navigator, sticky menu for WordPress (0) | 2019.04.27 |
| How to Increase Maximum Upload File Size in WordPress (0) | 2019.04.27 |