get_bloginfo( string $show = '', string $filter = 'raw' )
Retrieves information about the current site.
CONTENTS
Description #Description
Possible values for $show include:
- ‘name’ – Site title (set in Settings > General)
- ‘description’ – Site tagline (set in Settings > General)
- ‘wpurl’ – The WordPress address (URL) (set in Settings > General)
- ‘url’ – The Site address (URL) (set in Settings > General)
- ‘admin_email’ – Admin email (set in Settings > General)
- ‘charset’ – The "Encoding for pages and feeds" (set in Settings > Reading)
- ‘version’ – The current WordPress version
- ‘html_type’ – The content-type (default: "text/html"). Themes and plugins can override the default value using the ‘pre_option_html_type’ filter
- ‘text_direction’ – The text direction determined by the site’s language. is_rtl() should be used instead
- ‘language’ – Language code for the current site
- ‘stylesheet_url’ – URL to the stylesheet for the active theme. An active child theme will take precedence over this value
- ‘stylesheet_directory’ – Directory path for the active theme. An active child theme will take precedence over this value
- ‘template_url’ / ‘template_directory’ – URL of the active theme’s directory. An active child theme will NOT take precedence over this value
- ‘pingback_url’ – The pingback XML-RPC file URL (xmlrpc.php)
- ‘atom_url’ – The Atom feed URL (/feed/atom)
- ‘rdf_url’ – The RDF/RSS 1.0 feed URL (/feed/rdf)
- ‘rss_url’ – The RSS 0.92 feed URL (/feed/rss)
- ‘rss2_url’ – The RSS 2.0 feed URL (/feed)
- ‘comments_atom_url’ – The comments Atom feed URL (/comments/feed)
- ‘comments_rss2_url’ – The comments RSS 2.0 feed URL (/comments/feed)
Some $show values are deprecated and will be removed in future versions. These options will trigger the _deprecated_argument() function.
Deprecated arguments include:
- ‘siteurl’ – Use ‘url’ instead
- ‘home’ – Use ‘url’ instead
Parameters #Parameters
$show
(string) (Optional) Site info to retrieve. Default empty (site name).
Default value: ''
$filter
(string) (Optional) How to filter what is retrieved.
Default value: 'raw'
Return #Return
(string) Mostly string values, might be empty.
Source #Source
File: wp-includes/general-template.php
|
704 705 706 707 708 709 710 711 712 713 714 715 716 717 718 719 720 721 722 723 724 725 726 727 728 729 730 731 732 733 734 735 736 737 738 739 740 741 742 743 744 745 746 747 748 749 750 751 752 753 754 755 756 757 758 759 760 761 762 763 764 765 766 767 768 769 770 771 772 773 774 775 776 777 778 779 780 781 782 783 784 785 786 787 788 789 790 791 792 793 794 795 796 797 798 799 800 801 802 803 804 805 806 807 808 809 810 811 812 813 814 815 816 817 818 819 820 821 822 823 824 825 826 827 828 829 830 831 832 833 834 835 836 837 838 839 840 841 842 843 |
function get_bloginfo( $show = '', $filter = 'raw' ) { switch ( $show ) { case 'home': // DEPRECATED case 'siteurl': // DEPRECATED _deprecated_argument( __FUNCTION__, '2.2.0', sprintf( /* translators: 1: 'siteurl'/'home' argument, 2: bloginfo() function name, 3: 'url' argument */ __( 'The %1$s option is deprecated for the family of %2$s functions. Use the %3$s option instead.' ), '<code>' . $show . '</code>', '<code>bloginfo()</code>', '<code>url</code>' ) ); // Intentional fall-through to be handled by the 'url' case. case 'url': $output = home_url(); break; case 'wpurl': $output = site_url(); break; case 'description': $output = get_option( 'blogdescription' ); break; case 'rdf_url': $output = get_feed_link( 'rdf' ); break; case 'rss_url': $output = get_feed_link( 'rss' ); break; case 'rss2_url': $output = get_feed_link( 'rss2' ); break; case 'atom_url': $output = get_feed_link( 'atom' ); break; case 'comments_atom_url': $output = get_feed_link( 'comments_atom' ); break; case 'comments_rss2_url': $output = get_feed_link( 'comments_rss2' ); break; case 'pingback_url': $output = site_url( 'xmlrpc.php' ); break; case 'stylesheet_url': $output = get_stylesheet_uri(); break; case 'stylesheet_directory': $output = get_stylesheet_directory_uri(); break; case 'template_directory': case 'template_url': $output = get_template_directory_uri(); break; case 'admin_email': $output = get_option( 'admin_email' ); break; case 'charset': $output = get_option( 'blog_charset' ); if ( '' == $output ) { $output = 'UTF-8'; } break; case 'html_type': $output = get_option( 'html_type' ); break; case 'version': global $wp_version; $output = $wp_version; break; case 'language': /* translators: Translate this to the correct language tag for your locale, * see https://www.w3.org/International/articles/language-tags/ for reference. * Do not translate into your own language. */ $output = __( 'html_lang_attribute' ); if ( 'html_lang_attribute' === $output || preg_match( '/[^a-zA-Z0-9-]/', $output ) ) { $output = determine_locale(); $output = str_replace( '_', '-', $output ); } break; case 'text_direction': _deprecated_argument( __FUNCTION__, '2.2.0', sprintf( /* translators: 1: 'text_direction' argument, 2: bloginfo() function name, 3: is_rtl() function name */ __( 'The %1$s option is deprecated for the family of %2$s functions. Use the %3$s function instead.' ), '<code>' . $show . '</code>', '<code>bloginfo()</code>', '<code>is_rtl()</code>' ) ); if ( function_exists( 'is_rtl' ) ) { $output = is_rtl() ? 'rtl' : 'ltr'; } else { $output = 'ltr'; } break; case 'name': default: $output = get_option( 'blogname' ); break; }
$url = true; if ( strpos( $show, 'url' ) === false && strpos( $show, 'directory' ) === false && strpos( $show, 'home' ) === false ) { $url = false; }
if ( 'display' == $filter ) { if ( $url ) { /** * Filters the URL returned by get_bloginfo(). * * @since 2.0.5 * * @param mixed $output The URL returned by bloginfo(). * @param mixed $show Type of information requested. */ $output = apply_filters( 'bloginfo_url', $output, $show ); } else { /** * Filters the site information returned by get_bloginfo(). * * @since 0.71 * * @param mixed $output The requested non-URL site information. * @param mixed $show Type of information requested. */ $output = apply_filters( 'bloginfo', $output, $show ); } }
return $output; } |
Expand full source code View on Trac
Changelog #Changelog
ChangelogVersionDescription
| 0.71 | Introduced. |
More Information #More Information
Usage #Usage
|
1 |
$bloginfo = get_bloginfo( $show, $filter ); |
Related #Related
Uses #Uses
UsesUsesDescription
| wp-includes/l10n.php: determine_locale() |
Determine the current locale desired for the request. |
| wp-includes/theme.php: get_stylesheet_uri() |
Retrieves the URI of current theme stylesheet. |
| wp-includes/theme.php: get_stylesheet_directory_uri() |
Retrieve stylesheet directory URI. |
| wp-includes/theme.php: get_template_directory_uri() |
Retrieve theme directory URI. |
| wp-includes/l10n.php: __() |
Retrieve the translation of $text. |
Used By #Used By
Used ByUsed ByDescription
| wp-includes/functions.php: is_wp_version_compatible() |
Checks compatibility with the current WordPress version. |
| wp-admin/includes/class-wp-debug-data.php:WP_Debug_Data::debug_data() |
Static function for generating site debug data when required. |
| wp-admin/includes/class-wp-site-health.php:WP_Site_Health::get_test_wordpress_version() |
Tests for WordPress version and outputs it. |
| wp-admin/includes/class-wp-site-health.php:WP_Site_Health::get_test_https_status() |
Test if your site is serving content over HTTPS. |
| wp-admin/includes/misc.php:WP_Privacy_Policy_Content::get_default_content() |
Return the default suggested privacy policy content. |
User Contributed Notes #User Contributed Notes
- Skip to note 1 content
You must log in to vote on the helpfulness of this noteVote results for this note:1You must log in to vote on the helpfulness of this note

Contributed by Codex — 4 years ago
Default Usage
The default usage assigns your blog’s title to the variable $blog_title.1
<?php $blog_title = get_bloginfo(); ?>
- Skip to note 2 content
You must log in to vote on the helpfulness of this noteVote results for this note:1You must log in to vote on the helpfulness of this note

Contributed by Codex — 4 years ago
Blog Title
This example assign your blog’s title to the variable $blog_title. This returns the same result as the default usage.1
<?php $blog_title = get_bloginfo( 'name' ); ?>
- Skip to note 3 content
You must log in to vote on the helpfulness of this noteVote results for this note:1You must log in to vote on the helpfulness of this note

Contributed by Codex — 4 years ago
Blog Tagline
Using this example:1
<?php printf( esc_html__( 'Your Blog Tagline is: %s', 'textdomain' ), get_bloginfo ( 'description' ) ); ?><br />
Results in this being displayed on your blog:
Your Blog Tagline is: All things WordPress
- Skip to note 4 content
You must log in to vote on the helpfulness of this noteVote results for this note:1You must log in to vote on the helpfulness of this note

Contributed by Codex — 4 years ago
Network Tagline
Using this example, you can obtain the name and description for the network home:1
2
3
4
5
6
7
8
9
10
<?php
switch_to_blog(1);
$site_title = get_bloginfo( 'name' );
$site_url = network_site_url( '/' );
$site_description = get_bloginfo( 'description' );
restore_current_blog();
echo 'The Network Home URL is: ' . $site_url;
echo 'The Network Home Name is: ' . $site_title;
echo 'The Network Home Tagline is: ' . $site_description;
?>
results in this being displayed on your blog:
The Network Home URL is: http://example.com/
The Network Home Name is: Example
The Network Home Tagline is: The example site - Skip to note 5 content
You must log in to vote on the helpfulness of this noteVote results for this note:0You must log in to vote on the helpfulness of this note

Contributed by mslade — 2 years ago
The comments regarding `get_bloginfo(‘url’)` are misleading. It will *not* necessarily return what is set in Settings > General. The protocol (“http” or “https”) will be determined by the value of `is_ssl()`, which detects if the current request is over SSL or not.
- Skip to note 6 content
You must log in to vote on the helpfulness of this noteVote results for this note:0You must log in to vote on the helpfulness of this note

Contributed by Rehmat — 1 year ago
There should be a possibility to return the array of all available info. Although this might not be a good practice in terms of performance this should help someone who needs to fetch all info about a website. Note that I’ve omitted some fields that might not be that important:
1
2
3
4
5
6
7
8
function bloginfo_array() {
$fields = array('name', 'description', 'wpurl', 'url', 'admin_email', 'charset', 'version', 'html_type', 'text_direction', 'language');
$data = array();
foreach($fields as $field) {
$data[$field] = get_bloginfo($field);
}
return $data;
}
'WEB > WP(WordPress)' 카테고리의 다른 글
| DIVI TUTORIAL – CENTER ALIGN MULTIPLE BUTTONS (0) | 2019.05.23 |
|---|---|
| How to Vertically Align Content in Divi (0) | 2019.05.23 |
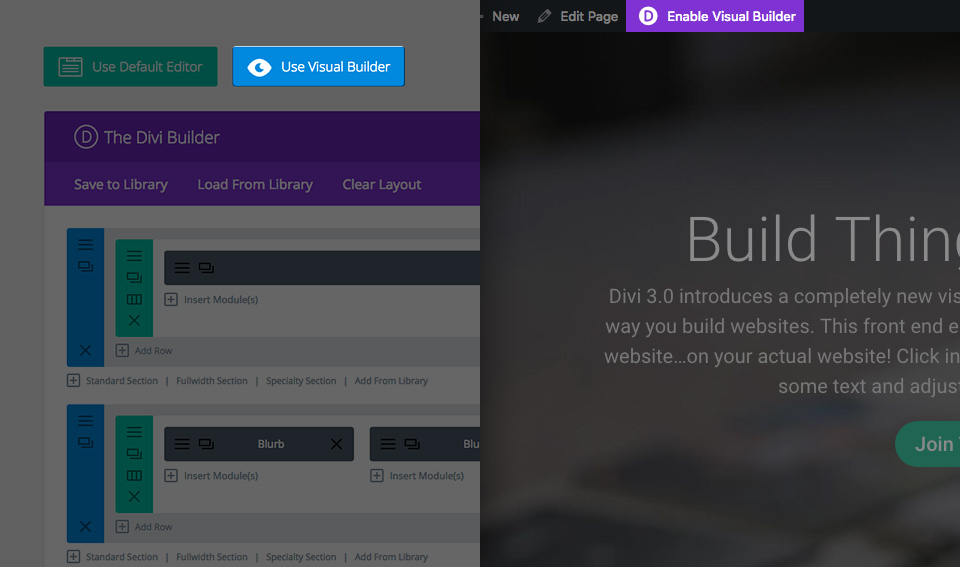
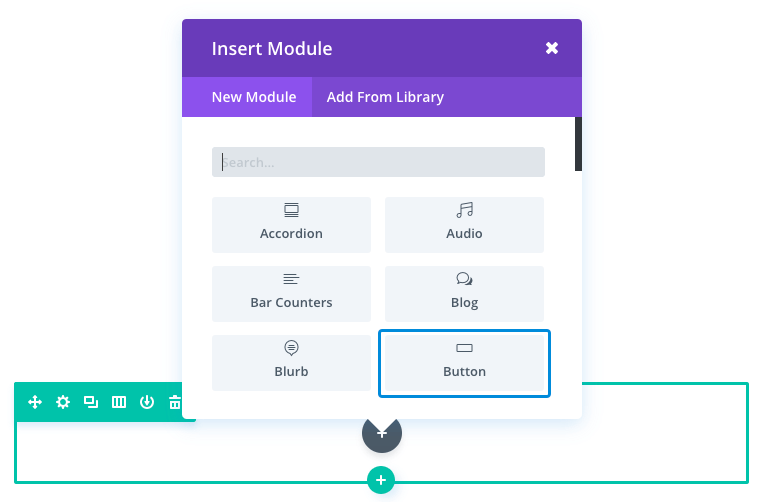
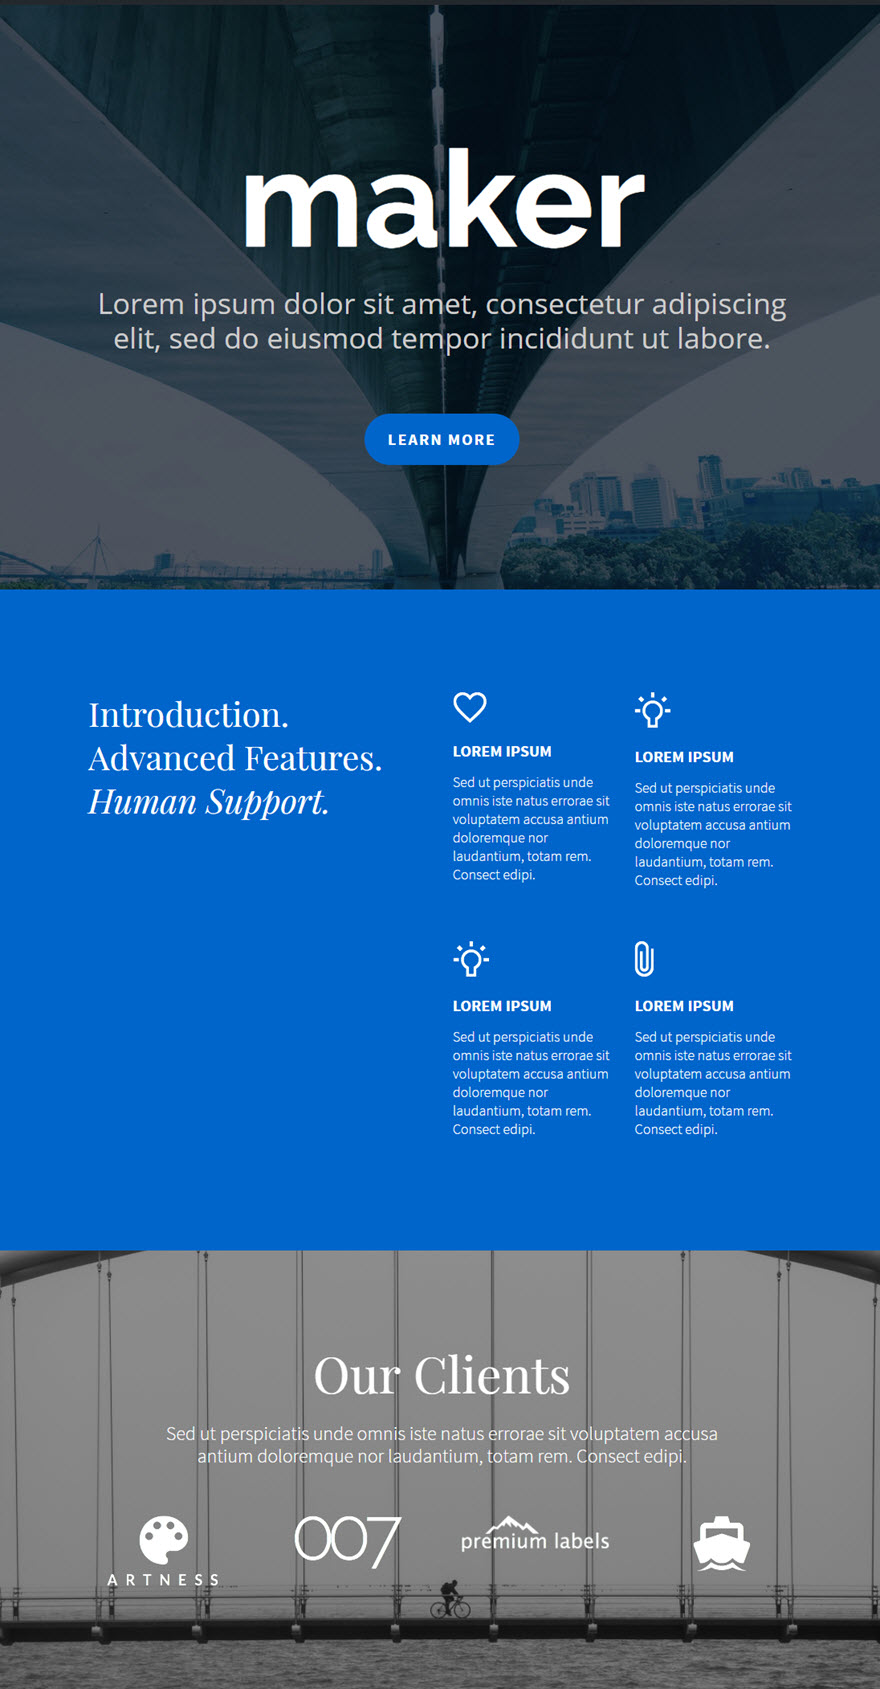
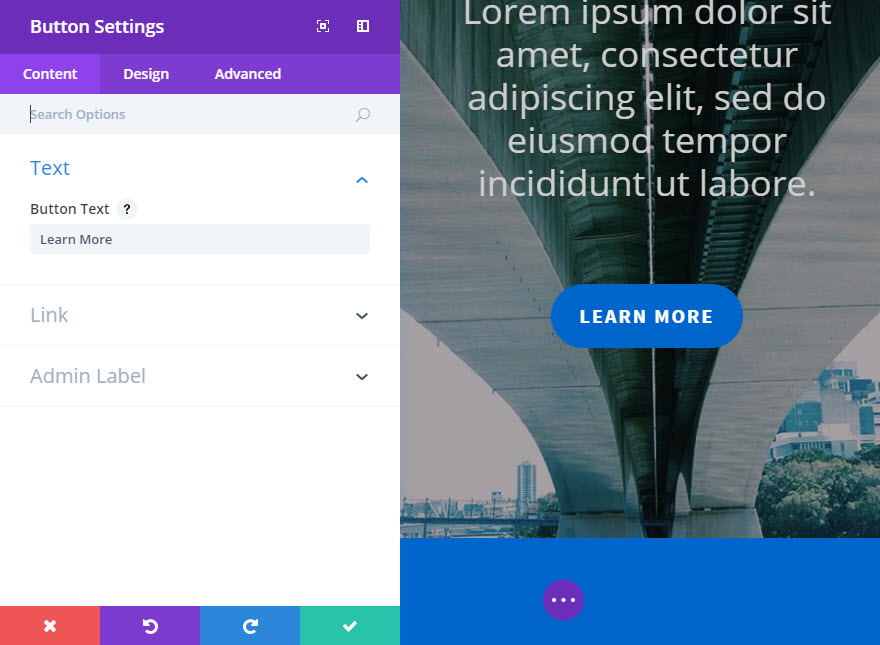
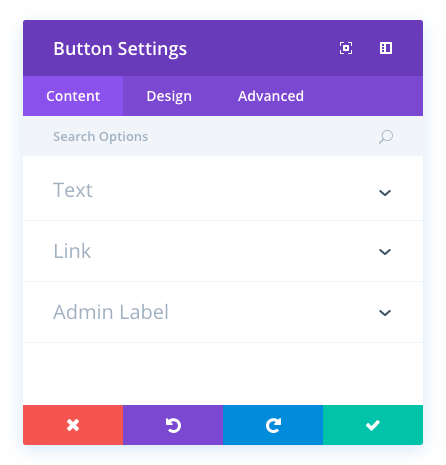
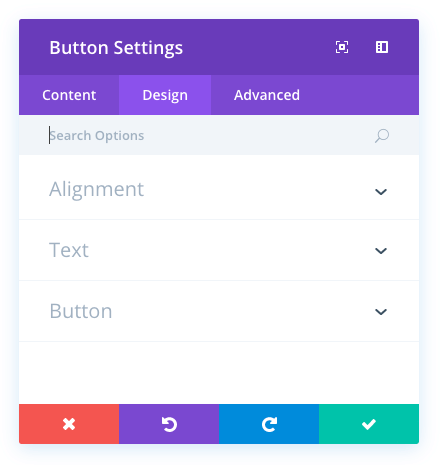
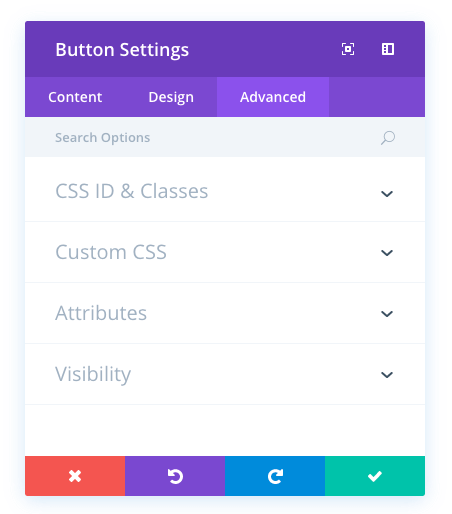
| The Divi Button Module (0) | 2019.05.22 |
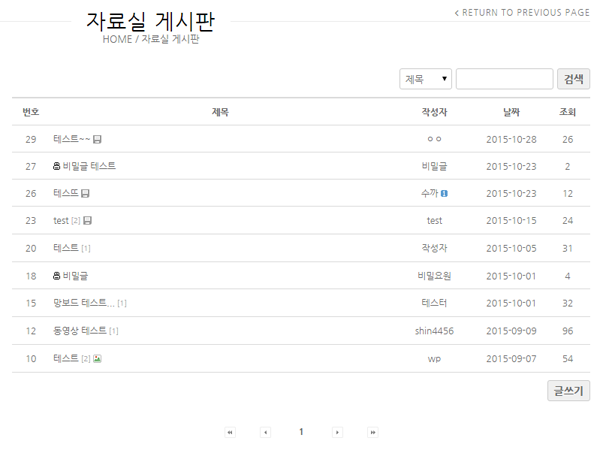
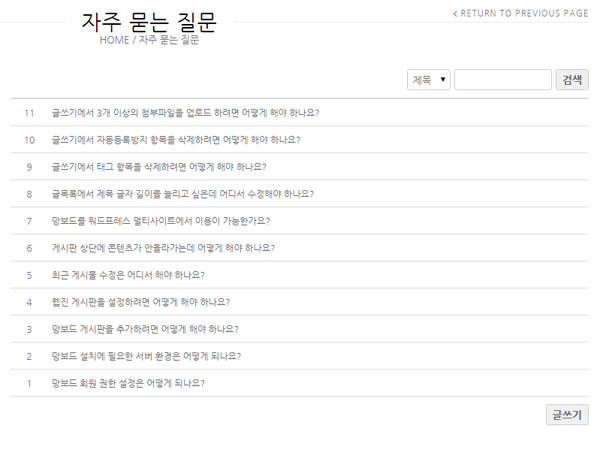
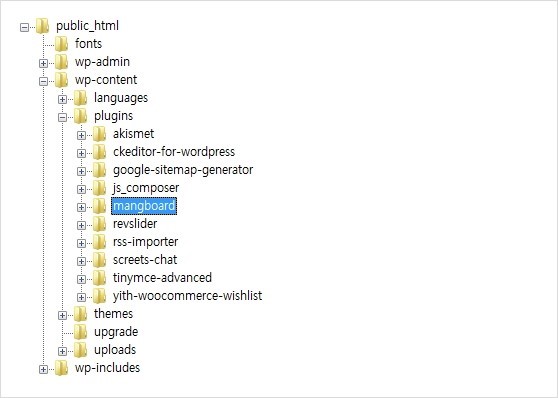
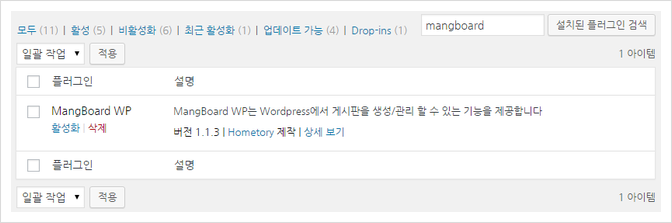
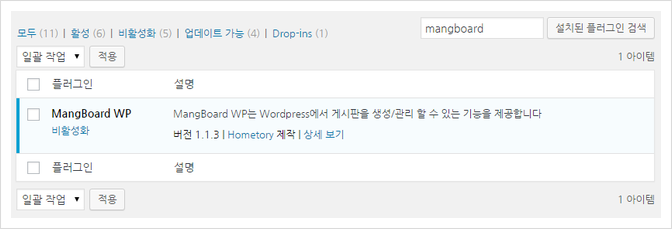
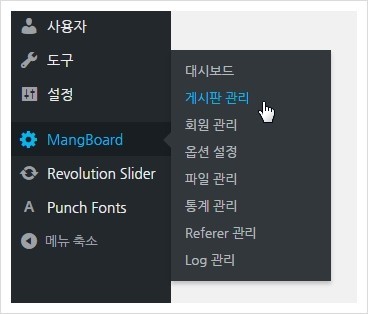
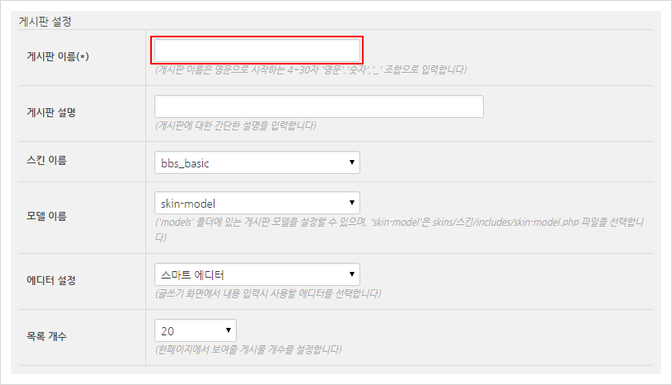
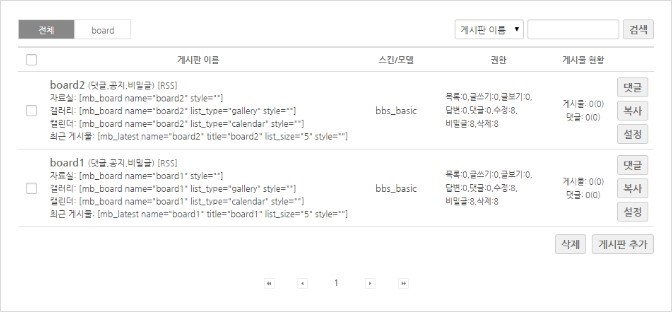
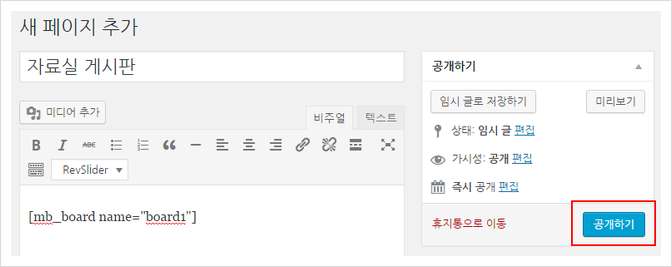
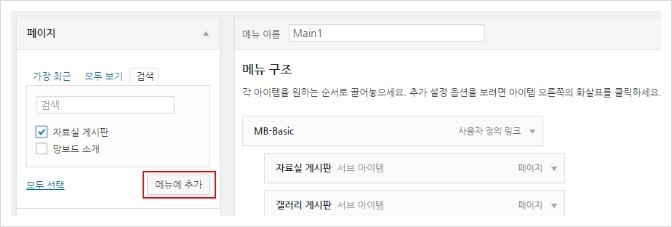
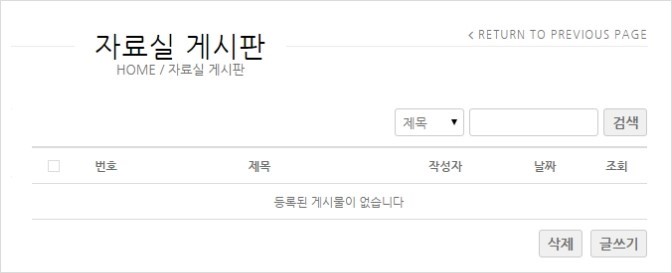
| MangBoard (0) | 2019.05.22 |
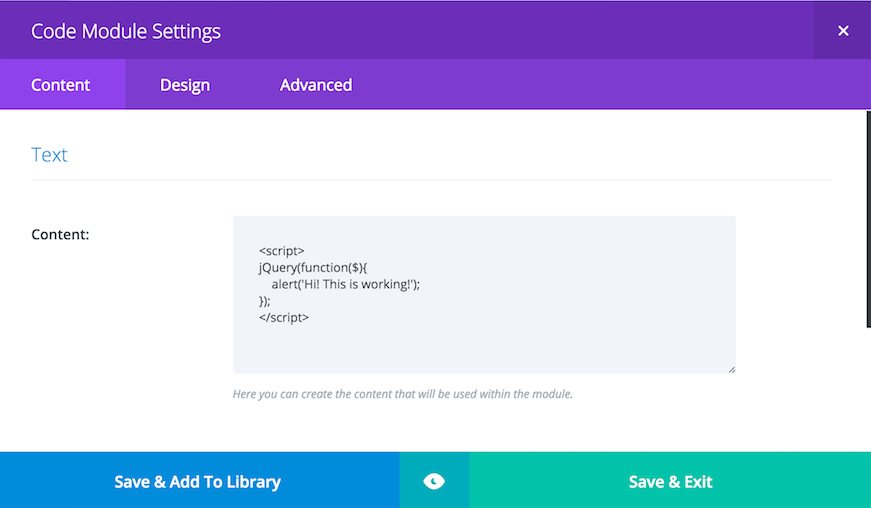
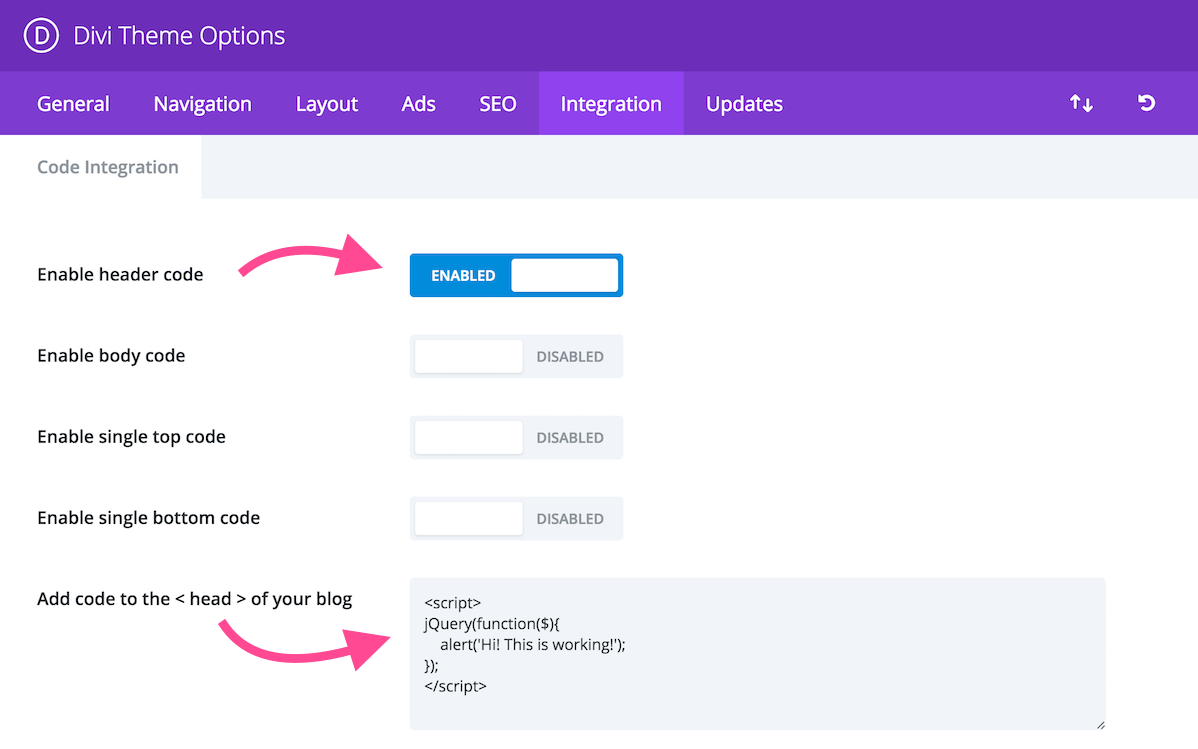
| How to add JavaScript & jQuery code to Divi Theme (0) | 2019.05.20 |