Payment Gateway API
Payment gateways in WooCommerce are class based and can be added through traditional plugins. This guide provides an intro to gateway development.
Note: This is a Developer level doc provided as guidance. We are unable to dispense advice or review code under our Support Policy.
Types of payment gateway
Payment gateways come in several varieties:
- Form based – This is where the user must click a button on a form that then redirects them to the payment processor on the gateway’s own website. Example: PayPal standard, Authorize.net DPM
- iFrame based – This is when the gateway payment system is loaded inside an iframe on your store. Example: SagePay Form, PayPal Advanced
- Direct – This is when the payment fields are shown directly on the checkout page and the payment is made when ‘place order’ is pressed. Example: PayPal Pro, Authorize.net AIM
- Offline – No online payment is made. Example: Cheque, Bank Transfer
Form and iFrame based gateways post data offsite, meaning there are less security issues for you to think about. Direct gateways, however, require server security to be implemented (SSL certificates, etc.) and may also require a level of PCI compliance.
Creating a basic payment gateway
Note: We are unable to provide support for customizations under our Support Policy. If you are unfamiliar with code/templates and resolving potential conflicts, select a WooExpert or Developer for assistance.
Payment gateways should be created as additional plugins that hook into WooCommerce. Inside the plugin, you need to create a class after plugins are loaded. Example:
add_action( 'plugins_loaded', 'init_your_gateway_class' );
It is also important that your gateway class extends the WooCommerce base gateway class, so you have access to important methods and the settings API:
function init_your_gateway_class() { class WC_Gateway_Your_Gateway extends WC_Payment_Gateway {} }
You can view the WC_Payment_Gateway class in the API Docs.
As well as defining your class, you need to also tell WooCommerce (WC) that it exists. Do this by filtering woocommerce_payment_gateways:
function add_your_gateway_class( $methods ) { $methods[] = 'WC_Gateway_Your_Gateway'; return $methods; } add_filter( 'woocommerce_payment_gateways', 'add_your_gateway_class' );
Required Methods
Most methods are inherited from the WC_Payment_Gateway class, but some are required in your custom gateway.
__construct()
Within your constructor, you should define the following variables:
- $this->id – Unique ID for your gateway, e.g., ‘your_gateway’
- $this->icon – If you want to show an image next to the gateway’s name on the frontend, enter a URL to an image.
- $this->has_fields – Bool. Can be set to true if you want payment fields to show on the checkout (if doing a direct integration).
- $this->method_title – Title of the payment method shown on the admin page.
- $this->method_description – Description for the payment method shown on the admin page.
Your constructor should also define and load settings fields:
$this->init_form_fields(); $this->init_settings();
We’ll cover init_form_fields() later, but this basically defines your settings that are then loaded with init_settings().
After init_settings() is called, you can get the settings and load them into variables, meaning:
$this->title = $this->get_option( 'title' );
Finally, you need to add a save hook for your settings:
add_action( 'woocommerce_update_options_payment_gateways_' . $this->id, array( $this, 'process_admin_options' ) );
init_form_fields()
Use this method to set $this->form_fields – these are options you’ll show in admin on your gateway settings page and make use of the WC Settings API.
A basic set of settings for your gateway would consist of enabled, title and description:
$this->form_fields = array( 'enabled' => array( 'title' => __( 'Enable/Disable', 'woocommerce' ), 'type' => 'checkbox', 'label' => __( 'Enable Cheque Payment', 'woocommerce' ), 'default' => 'yes' ), 'title' => array( 'title' => __( 'Title', 'woocommerce' ), 'type' => 'text', 'description' => __( 'This controls the title which the user sees during checkout.', 'woocommerce' ), 'default' => __( 'Cheque Payment', 'woocommerce' ), 'desc_tip' => true, ), 'description' => array( 'title' => __( 'Customer Message', 'woocommerce' ), 'type' => 'textarea', 'default' => '' ) );
process_payment( $order_id )
Now for the most important part of the gateway — handling payment and processing the order. Process_payment also tells WC where to redirect the user, and this is done with a returned array.
Here is an example of a process_payment function from the Cheque gateway:
function process_payment( $order_id ) { global $woocommerce; $order = new WC_Order( $order_id ); // Mark as on-hold (we're awaiting the cheque) $order->update_status('on-hold', __( 'Awaiting cheque payment', 'woocommerce' )); // Remove cart $woocommerce->cart->empty_cart(); // Return thankyou redirect return array( 'result' => 'success', 'redirect' => $this->get_return_url( $order ) ); }
As you can see, its job is to:
- Get and update the order being processed
- Return success and redirect URL (in this case the thanks page)
Cheque gives the order On-Hold status since the payment cannot be verified automatically. If, however, you are building a direct gateway, then you can complete the order here instead. Rather than using update_status when an order is paid, you should use payment_complete:
$order->payment_complete();
This ensures stock reductions are made, and the status is changed to the correct value.
If payment fails, you should throw an error and return null:
wc_add_notice( __('Payment error:', 'woothemes') . $error_message, 'error' ); return;
WooCommerce will catch this error and show it on the checkout page.
Stock levels are updated via actions (woocommerce_payment_complete and in transitions between order statuses), so it’s no longer needed to manually call the methods reducing stock levels while processing the payment.
Updating Order Status and Adding Notes
Updating the order status can be done using functions in the order class. You should only do this if the order status is not processing (in which case you should use payment_complete()). An example of updating to a custom status would be:
$order = new WC_Order( $order_id ); $order->update_status('on-hold', __('Awaiting cheque payment', 'woothemes'));
The above example updates the status to On-Hold and adds a note informing the owner that it is awaiting a Cheque. You can add notes without updating the order status; this is used for adding a debug message:
$order->add_order_note( __('IPN payment completed', 'woothemes') );
Order Status Best Practice
- If the order has completed but the admin needs to manually verify payment, use On-Hold
- If the order fails and has already been created, set to Failed
- If payment is complete, let WooCommerce handle the status and use $order->payment_complete(). WooCommerce will use either Completed or Processing status and handle stock.
Notes on Direct Gateways
If you are creating an advanced, direct gateway (i.e., one that takes payment on the actual checkout page), there are additional steps involved. First, you need to set has_fields to true in the gateway constructor:
$this->has_fields = true;
This tells the checkout to output a ‘payment_box’ containing your direct payment form that you define next.
Create a method called payment_fields() – this contains your form, most likely to have credit card details.
The next but optional method to add is validate_fields(). Return true if the form passes validation or false if it fails. You can use the wc_add_notice() function if you want to add an error and display it to the user.
Finally, you need to add payment code inside your process_payment( $order_id ) method. This takes the posted form data and attempts payment directly via the payment provider.
If payment fails, you should output an error and return nothing:
wc_add_notice( __('Payment error:', 'woothemes') . $error_message, 'error' ); return;
If payment is successful, you should set the order as paid and return the success array:
// Payment complete $order->payment_complete();// Return thank you page redirect return array( 'result' => 'success', 'redirect' => $this->get_return_url( $order ) );
Working with Payment Gateway Callbacks (such as PayPal IPN)
If you are building a gateway that makes a callback to your store to tell you about the status of an order, you need to add code to handle this inside your gateway.
The best way to add a callback and callback handler is to use WC-API hooks. An example would be as PayPal Standard does. It sets the callback/IPN URL as:
str_replace( 'https:', 'http:', add_query_arg( 'wc-api', 'WC_Gateway_Paypal', home_url( '/' ) ) );
Then hooks in its handler to the hook:
add_action( 'woocommerce_api_wc_gateway_paypal', array( $this, 'check_ipn_response' ) );
WooCommerce will call your gateway and run the action when the URL is called.
For more information, see WC_API — The WooCommerce API Callback.
Hooks in Gateways
It’s important to note that adding hooks inside gateway classes may not trigger. Gateways are only loaded when needed, such as during checkout and on the settings page in admin.
You should keep hooks outside of the class or use WC-API if you need to hook into WordPress events from your class.
More Examples
For more examples of payment gateways, go to WooCommerce core gateways or WooCommerce premium gateways.
'WEB > WP(WordPress)' 카테고리의 다른 글
| WooCommerce Plugin Developer Handbook (0) | 2021.06.11 |
|---|---|
| Managing Orders And Woocommerce Status (0) | 2021.06.11 |
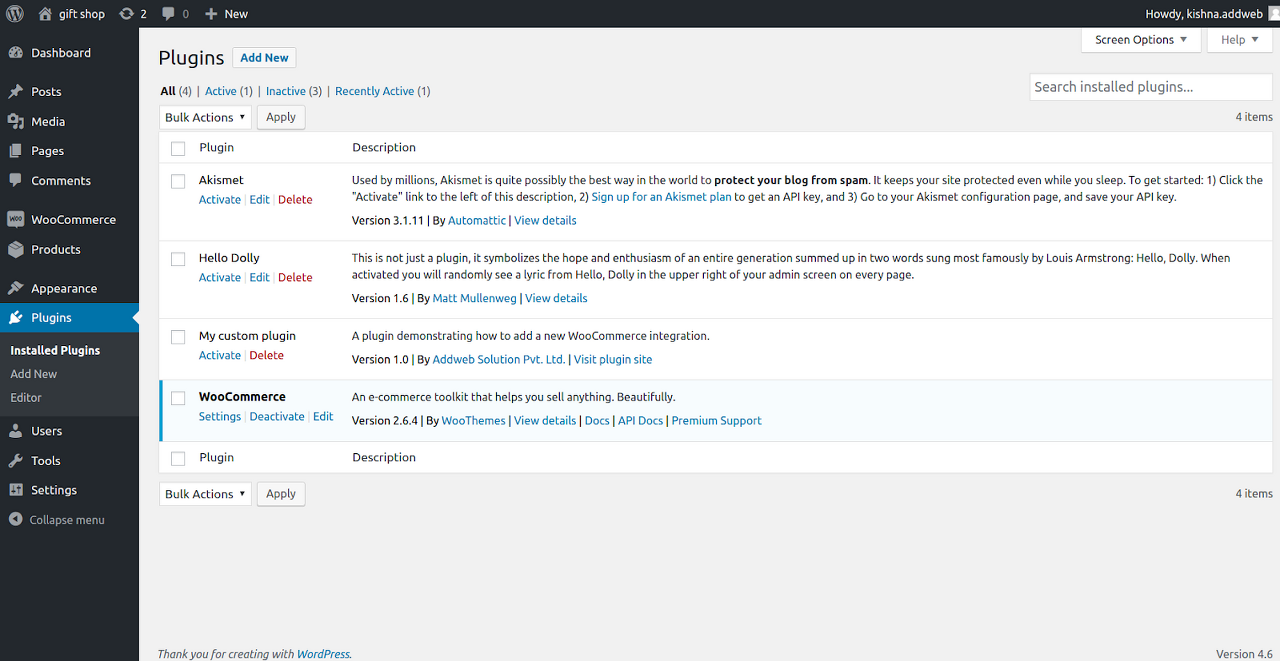
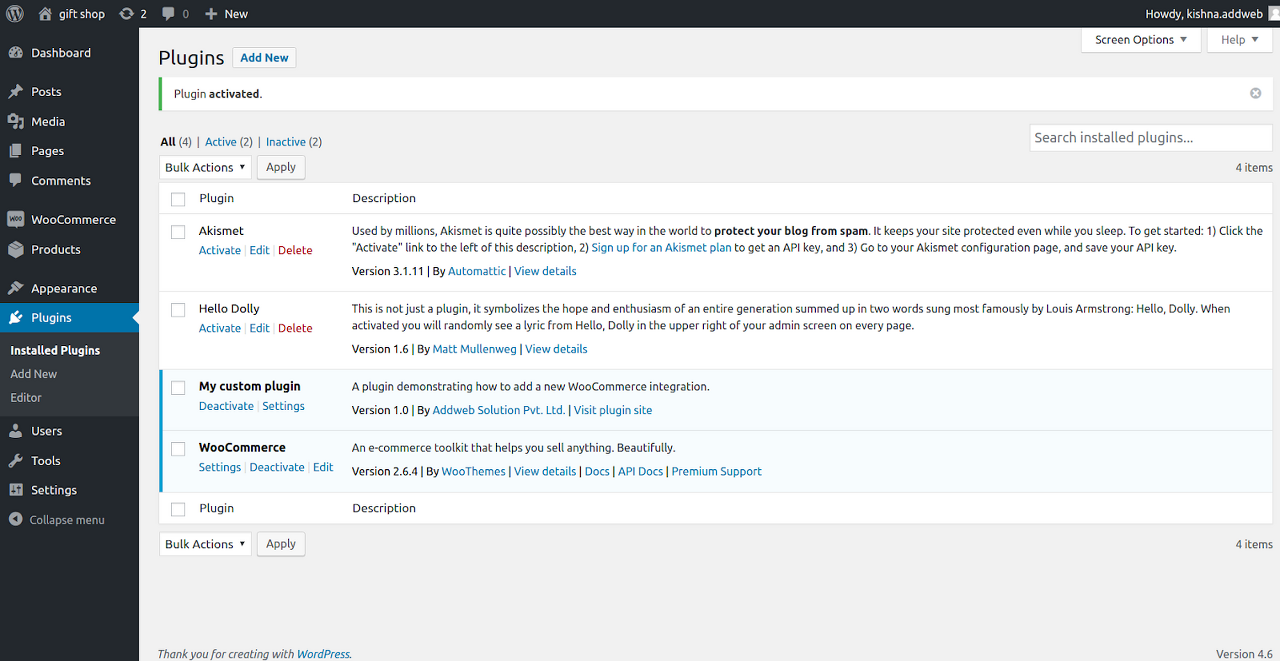
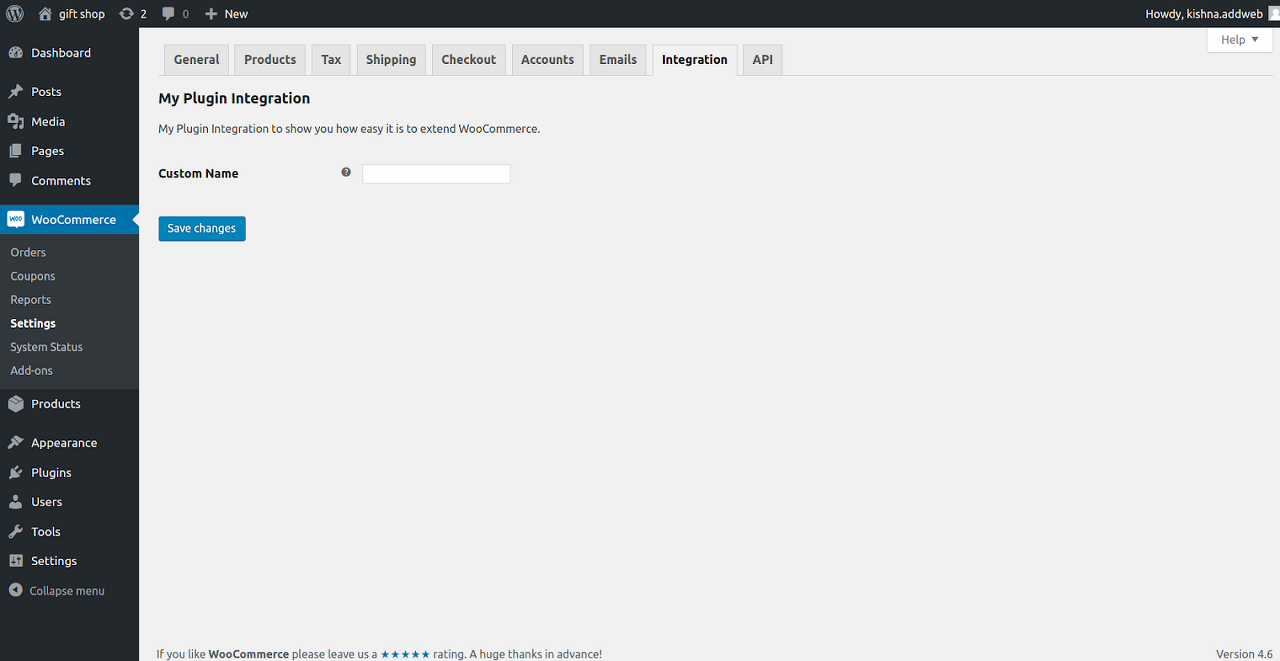
| Creating A Custom Plugin For WooCommerce Using WC_Integration Class in Distributed tab (0) | 2021.06.11 |
| Daum PostCode API Updated [2021-03-31] (0) | 2021.05.07 |
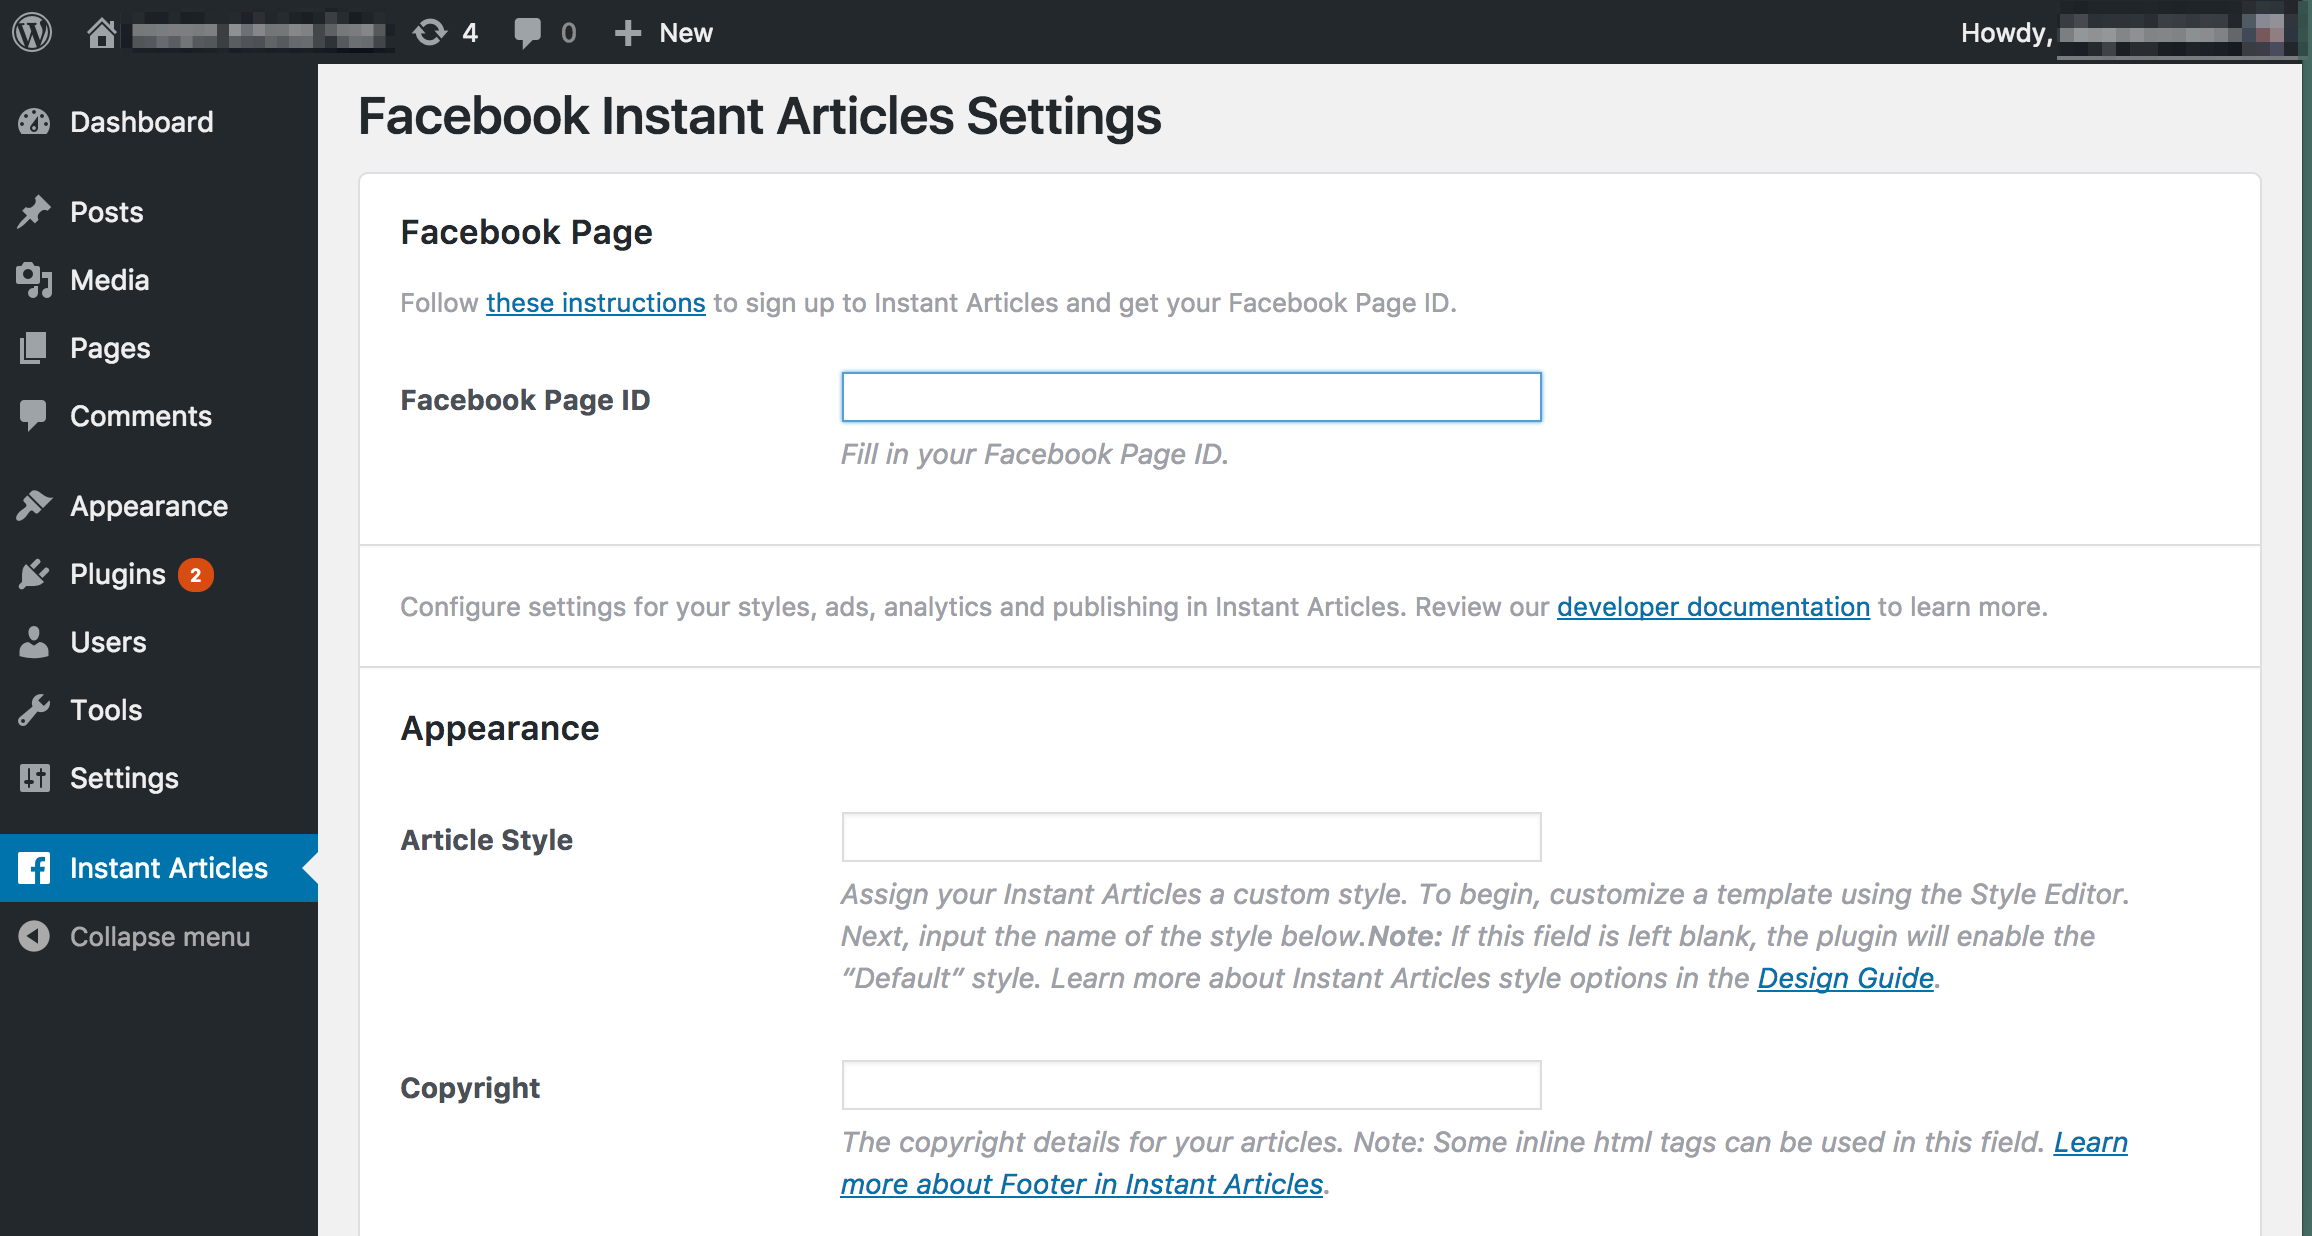
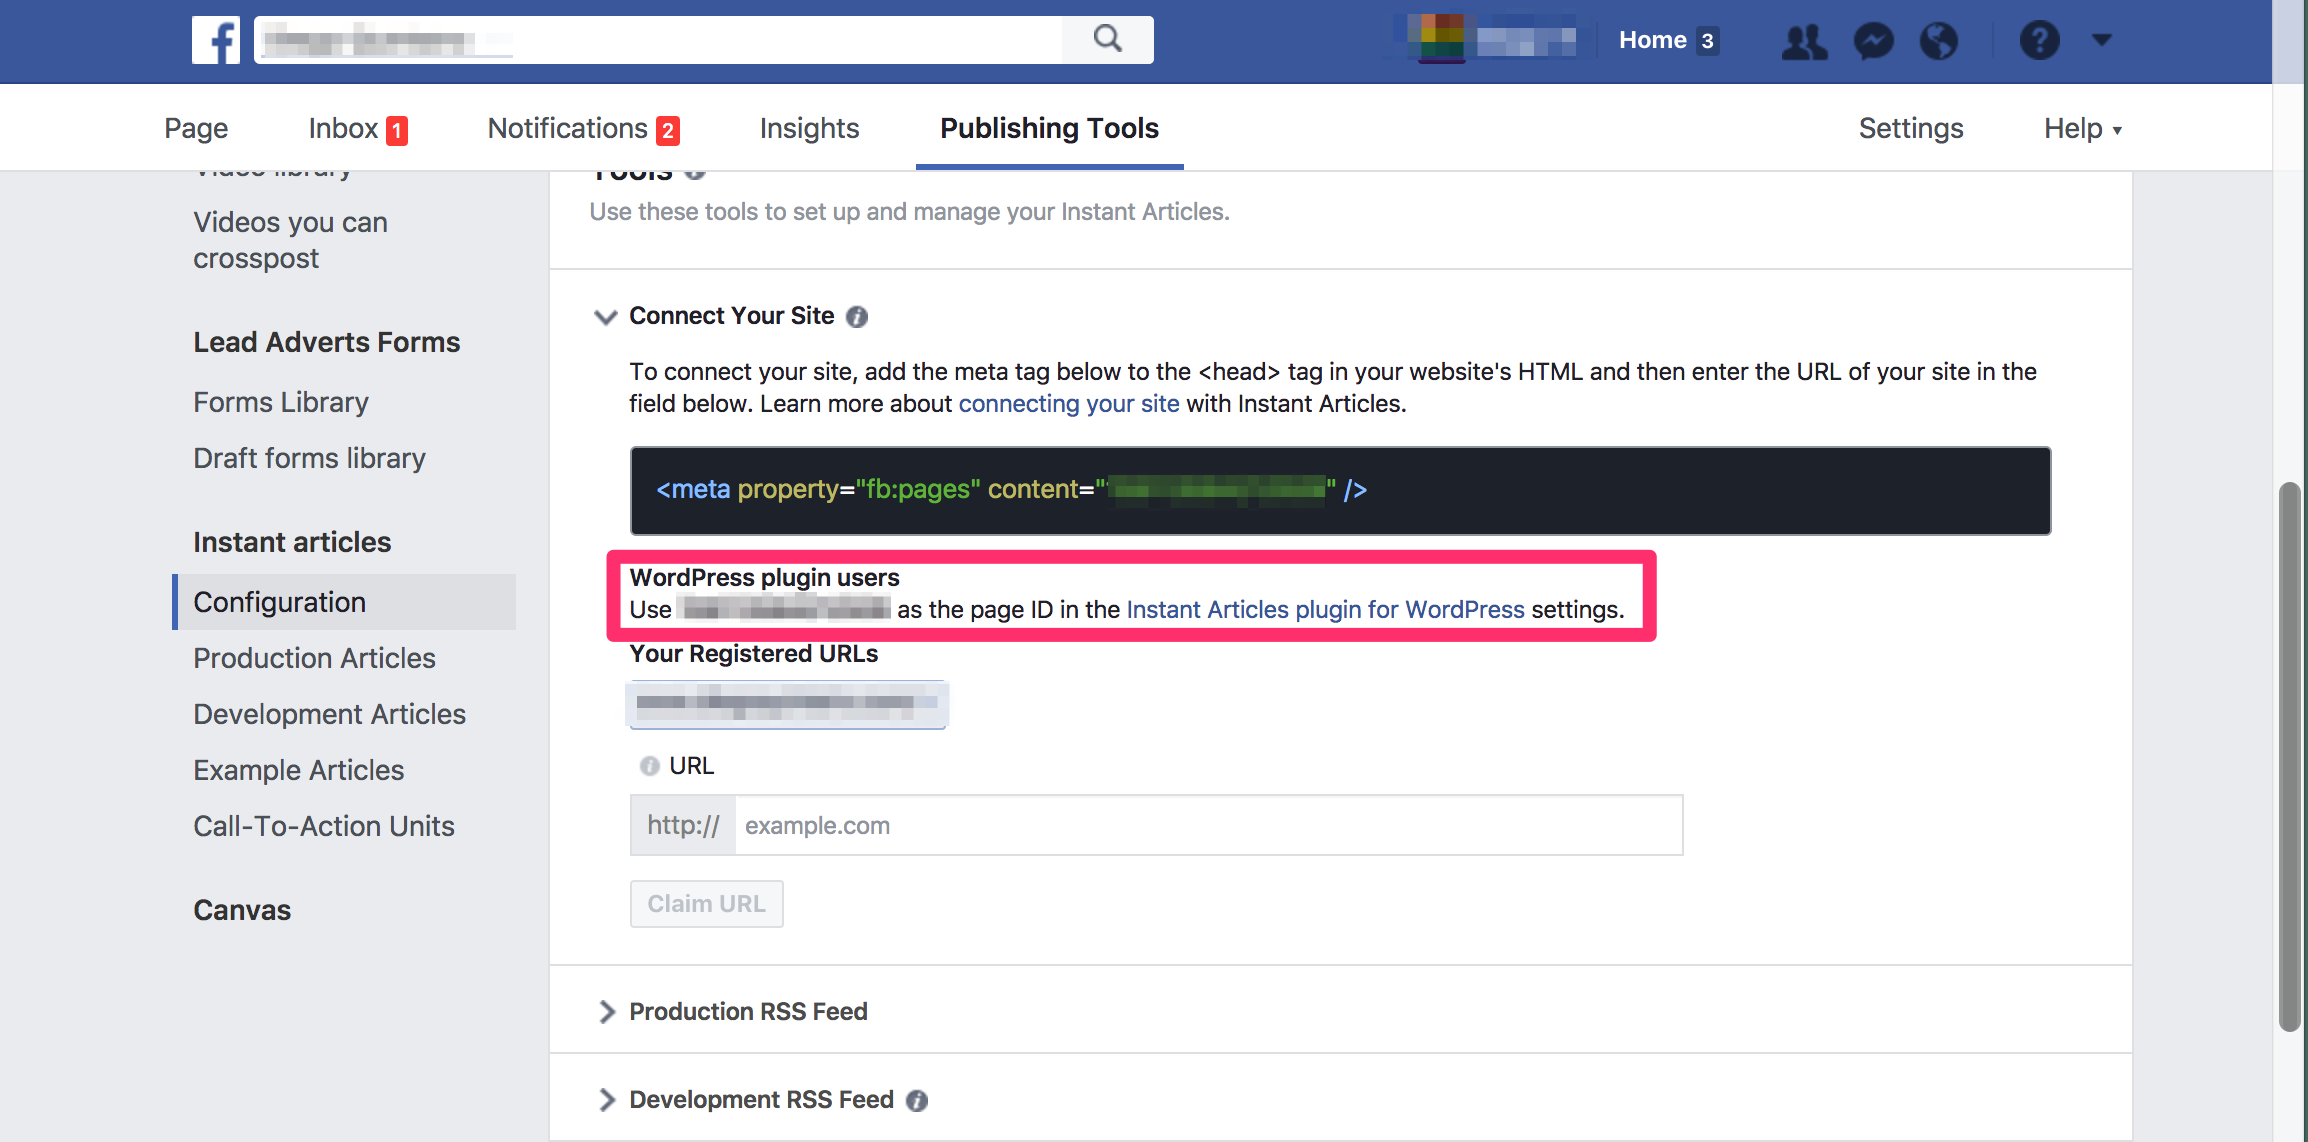
| [Facebook] WordPress 플러그인 설정 (0) | 2021.02.14 |